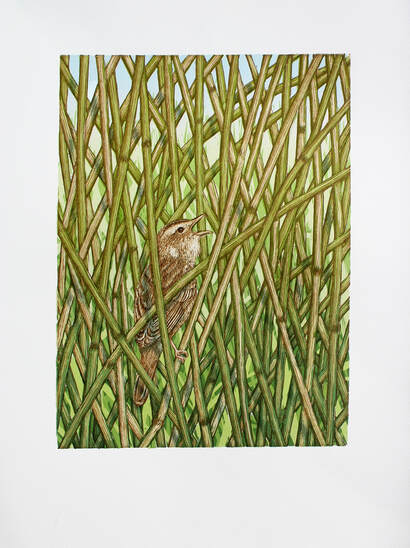
This is really just a quick description of the printing process of my latest effort: ‘Habitat’. It is of a small bird called the Aquatic Warbler and is for a book about the 67 species of UK birds that currently make up the ‘Red Data’ list of conservation concern. There is a background story to its commission. But more on this and the book later.
As you see it is a linocut and screenprint combination; edition of 20 plus one Artist's Proof on 300 gsm Somerset paper; 30 x 40 cm.
As you see it is a linocut and screenprint combination; edition of 20 plus one Artist's Proof on 300 gsm Somerset paper; 30 x 40 cm.
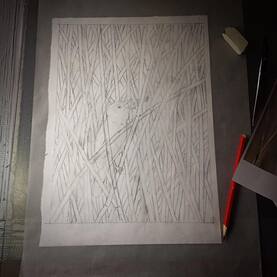
Although I sometimes do a complete finished compositional drawing in preparation for a new piece, the initial drawing for this was the simplest of sketched lines. I had looked at, photographed and also researched lots of pictures of reed and sedge beds – particularly those online references which showed the specific bird in its natural habitat. I don’t like to simply trace a photo, even if it is my own. In this case, the stems are entirely made up. And for the bird I used different bits of heads, backs and legs and just put them together using photoshop until the shape and size looked right, then a simple line guide was all I needed.
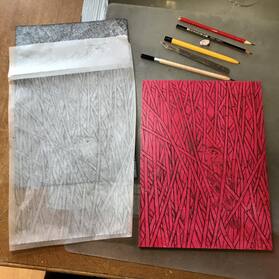
A key tracing of the sketch was the reversed and transferred to a prepared lino block using carbon paper.
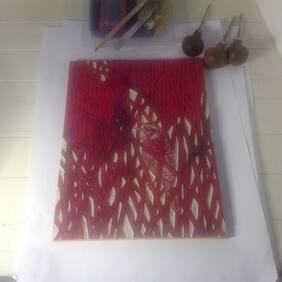
And the carving begins; removing all the areas of the planned image that will either be white paper or receive screen printed colour later. It is now that the drawing starts; with pencil on the red stained surface and then with the gouges themselves.
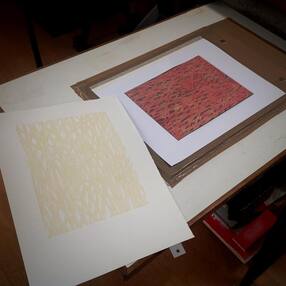
The first tone/colour – a transparent yellow/beige applied to all 20 plus 5 or 6 spares of 300 gsm Somerset paper. I’m using Ternes Burton pins and tabs on the etching press.
Successive reductions of the printing surface are then printed - in exact registration - top of each other, on every sheet in turn. The ink (Caligo Safewash) is gradually darkening tones of transparent (i.e. not using white pigment) reedy/birdy colours.
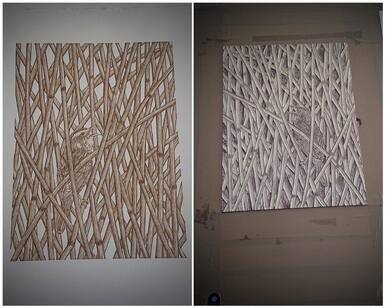
Until the final dark brown gives me the key construction and format image of the print; all in register, all identical, on all the sheets plus spares.
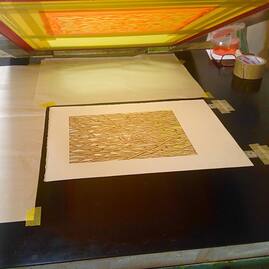
And so to the second stage - using a different printing method - screen print.
A spare proof is placed under the screen, in register, using the same TB tabs and the first of several hand painted stencils is traced on to and then painted directly on to the mesh with blocking fluid.
A spare proof is placed under the screen, in register, using the same TB tabs and the first of several hand painted stencils is traced on to and then painted directly on to the mesh with blocking fluid.
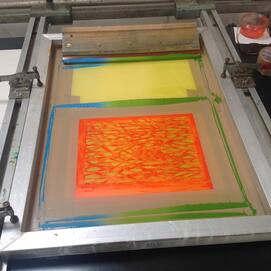
The first background colour stencil is printed - a blend of blue (sky) and green (reed bed).
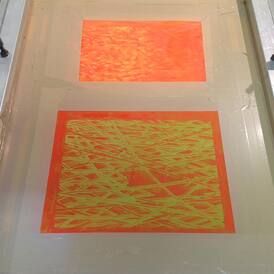
These screen stencils are also used in a reduction method.
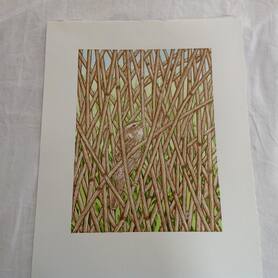
And a separate one is traced and painted for each element.
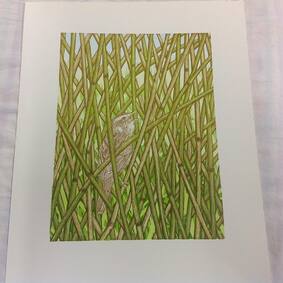
Including a set of separate smaller stencils for the bird and a sponged stencil in a transparent blue to add the all important shadow detail.
All the prints are then carefully check for consistency and the edition signed and stamped.
Number one has now gone to the publisher and will appear in the planned book and be sold in a fundraising 'blind' auction. I wonder who'll end up with it?
Number one has now gone to the publisher and will appear in the planned book and be sold in a fundraising 'blind' auction. I wonder who'll end up with it?

 RSS Feed