I don't post much on here these days, but following on from my previous post, a few people are interested in the details of how I now set up to print lino on the Big Shot Pro craft press. So here we go....
But before you read on, as always, please accept that this is my way of doing things - that suits me. There are as many ways to make a print as there are printmakers!
Also, as I've said many times - don't forget that any press is really just a gap between two hard things. It is the nut that operates it that will control its effectiveness!
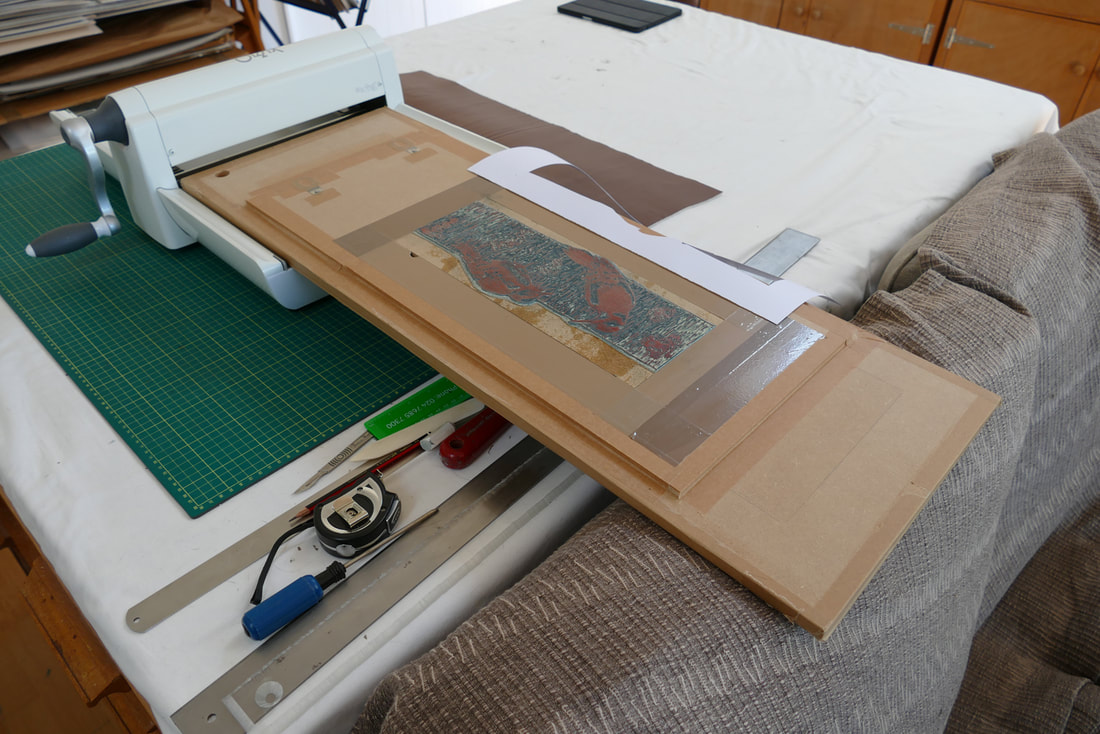
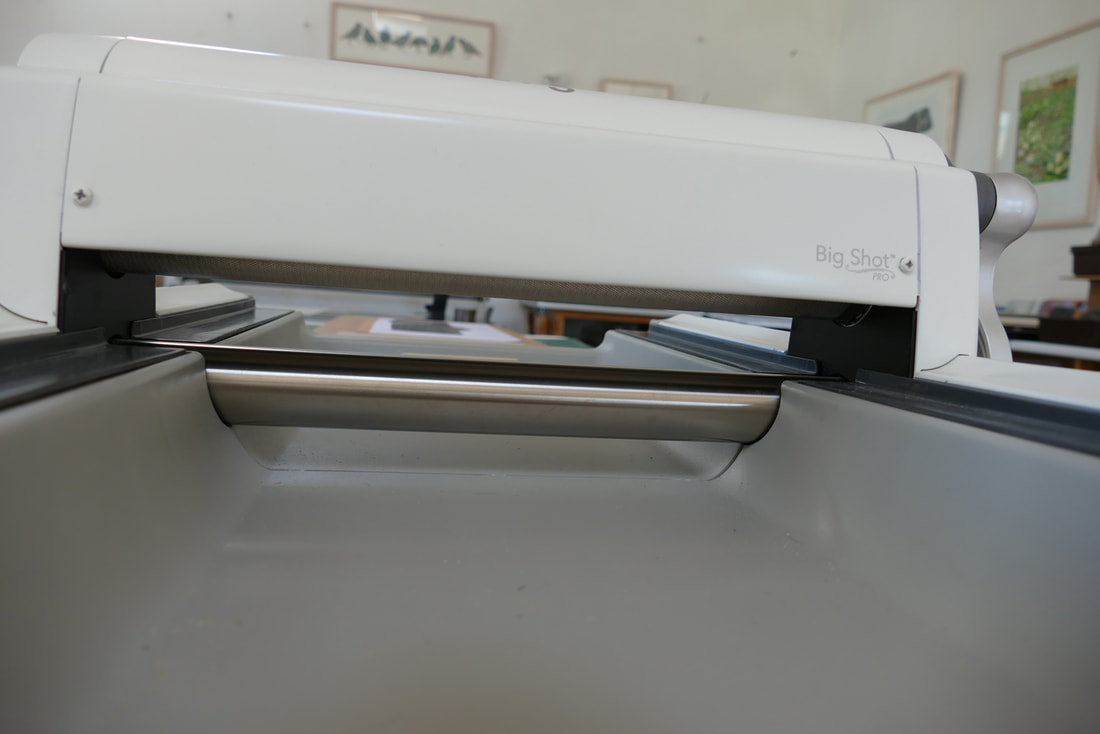
1. The Big Shot Pro is The Daddy of all the craft presses. Not so handy and portable as most, but large, strong and capable of every range of pressure; through delicate relief and all intaglio methods, to deep embossing.
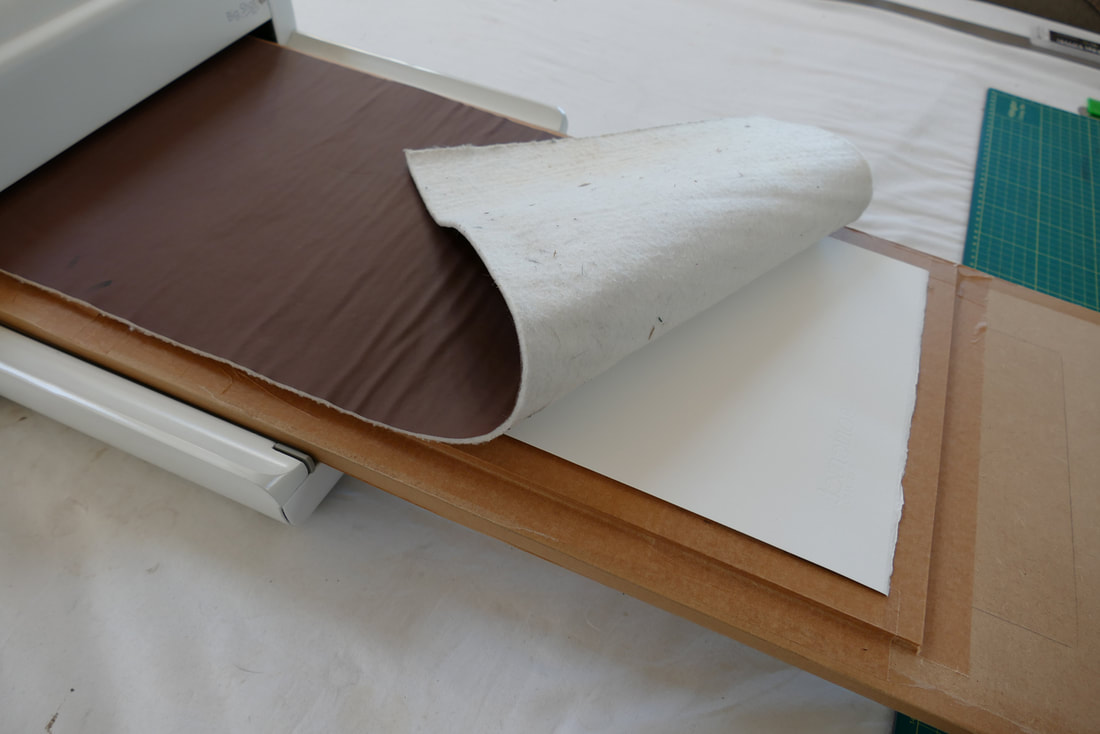
It has a 32 cm/12.5" width and a huge (but fixed of course) 28 mm roller gap. The top roller also has a machine textured surface to help prevent slippage. Like all these presses, sold principally for 'crafting' work it comes with a set of short plates and 'beds'. These are too short to be much use to me, so I make up print beds of various lengths from suitably rigid boards of MDF, surfaced chipboard etc.
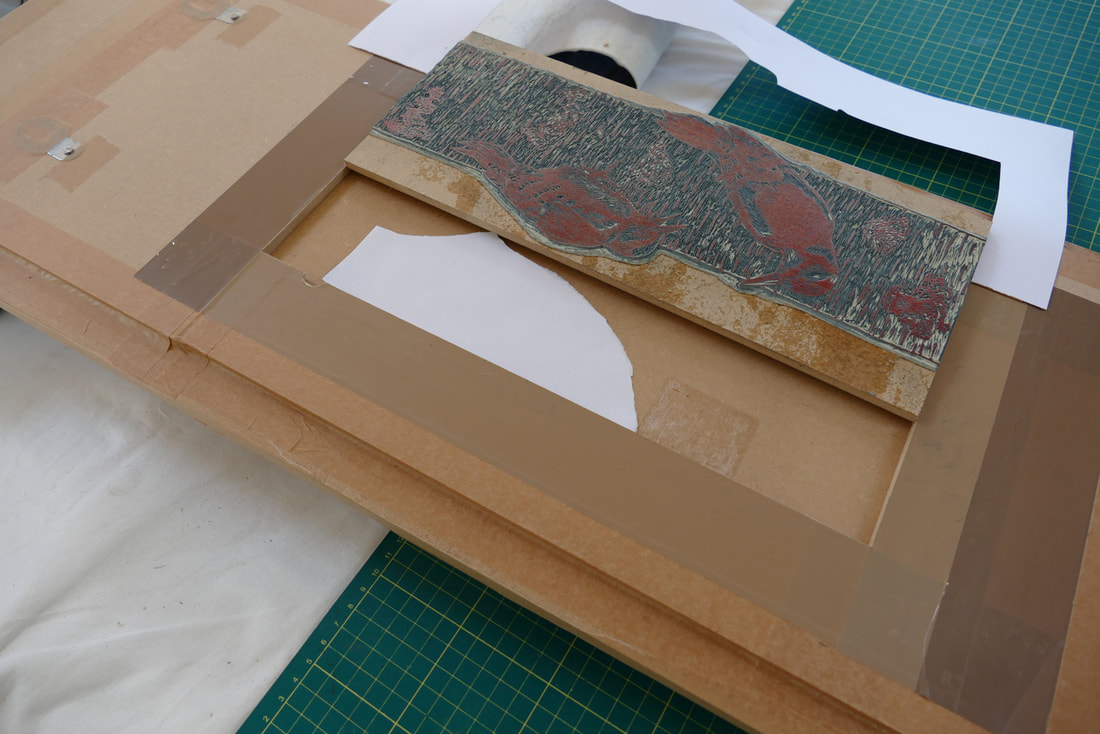
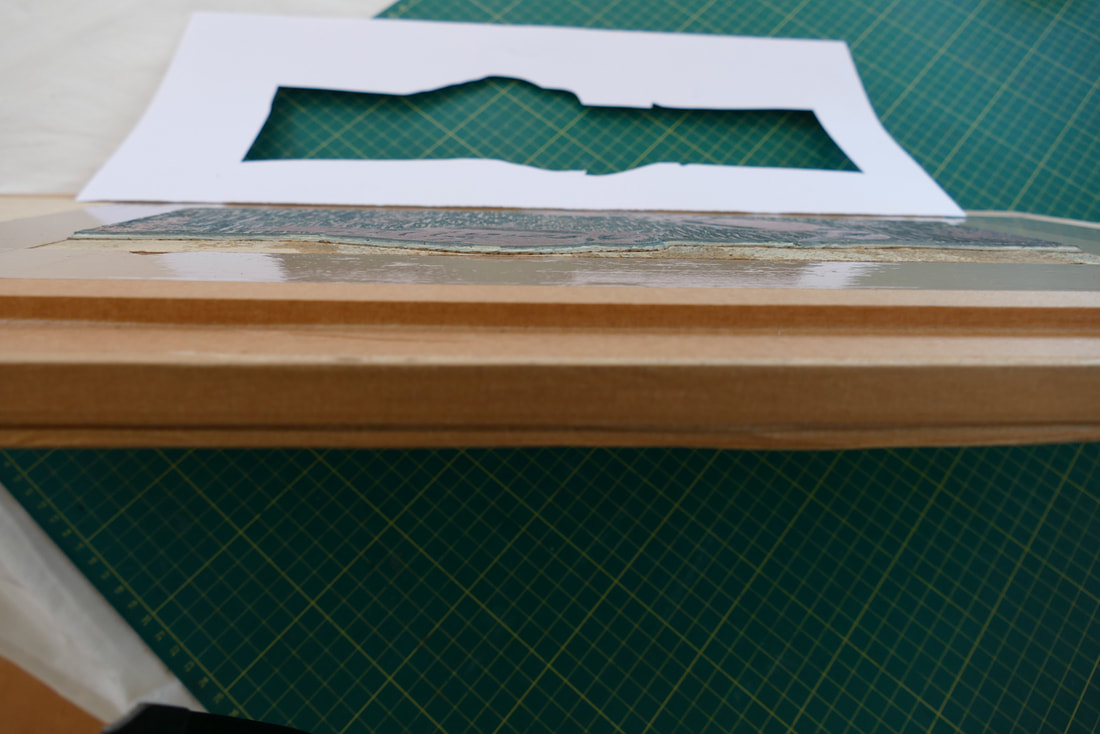
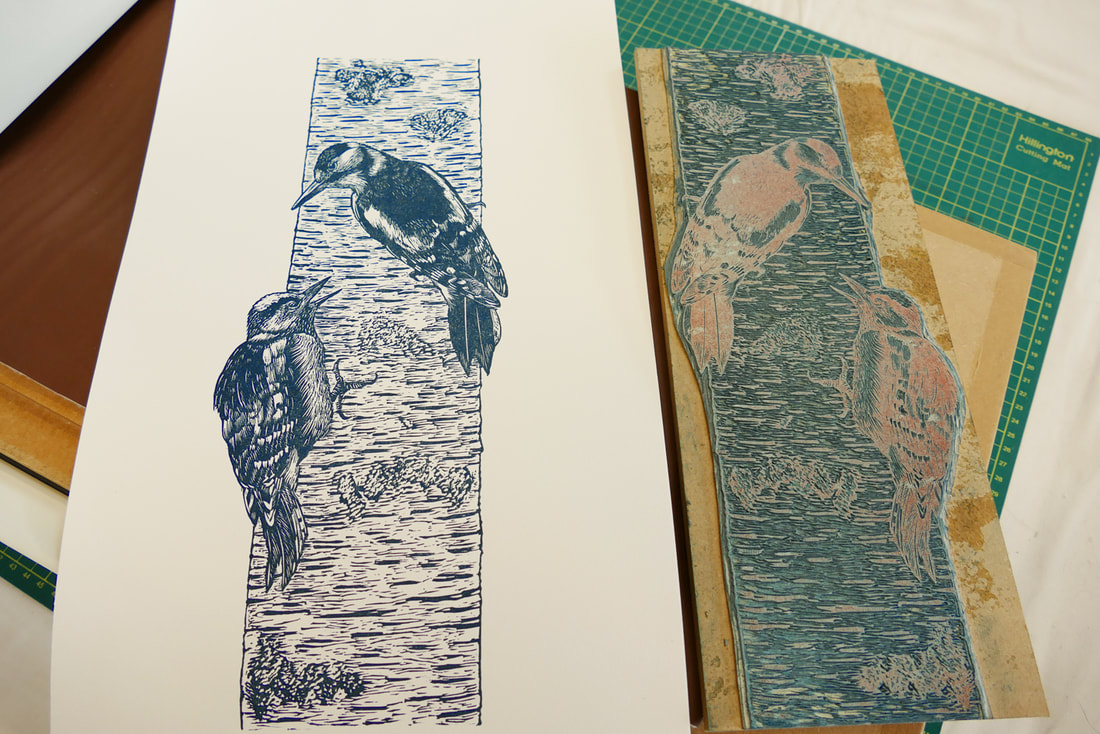
I usually make my lino prints using Marmoleum, mounted on to 6 mm MDF. I make a tight fitting surrounding 'chase' from more 6mm MDF
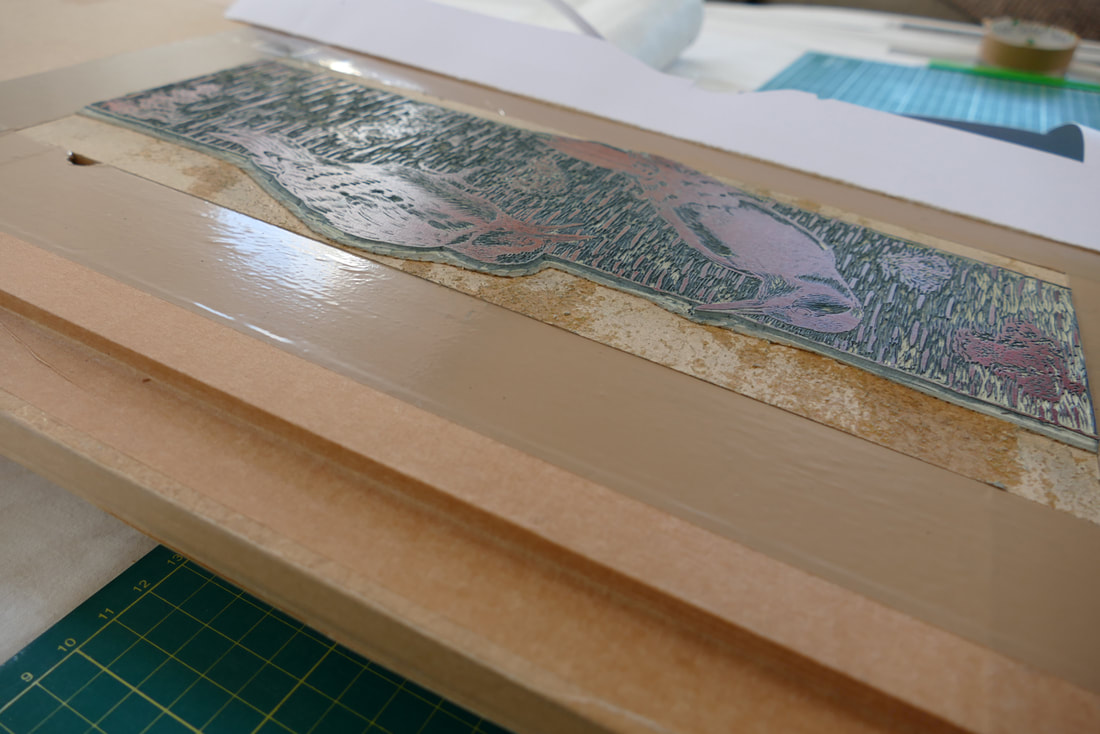
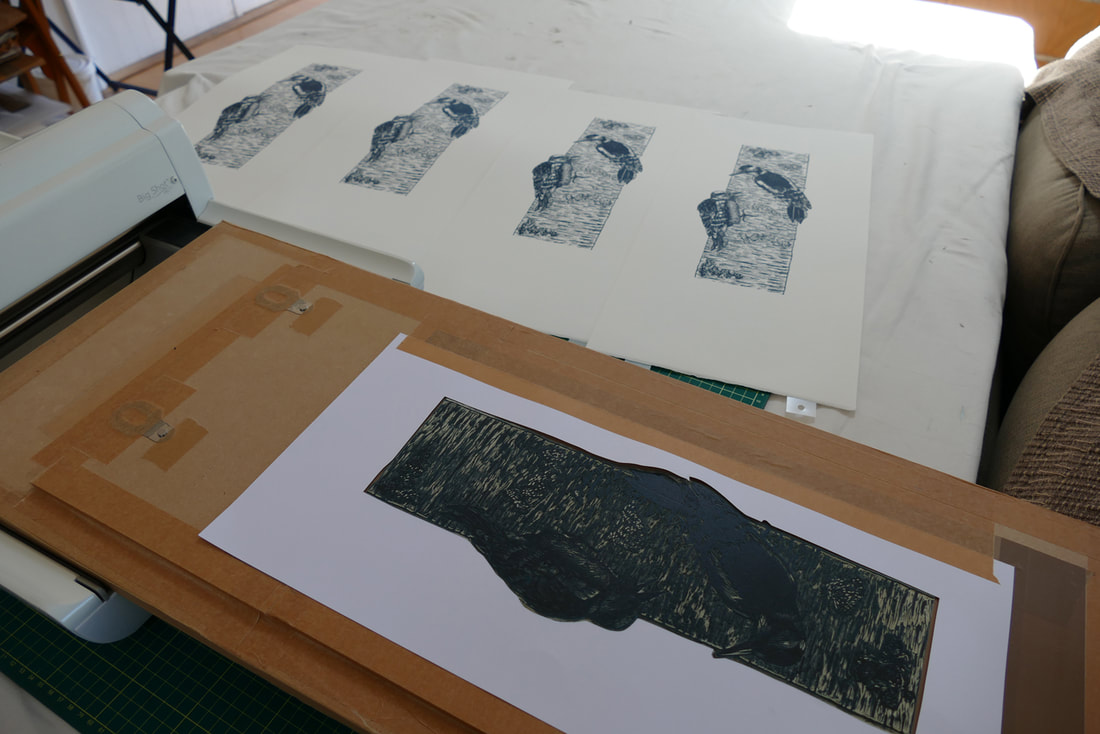
I like the Ternes Burton pins and tabs registration system, particularly on these small presses, that can grip and move un fixed sheets of dry paper. The MDF is covered with wipe clean vinyl tape; and a flip over paper mask made to keep non printing areas clean. Note also the small piece of paper placed under the block in a specific area of the image as 'make ready' extra packing for one area I thought was printing a little light on the first proofs.
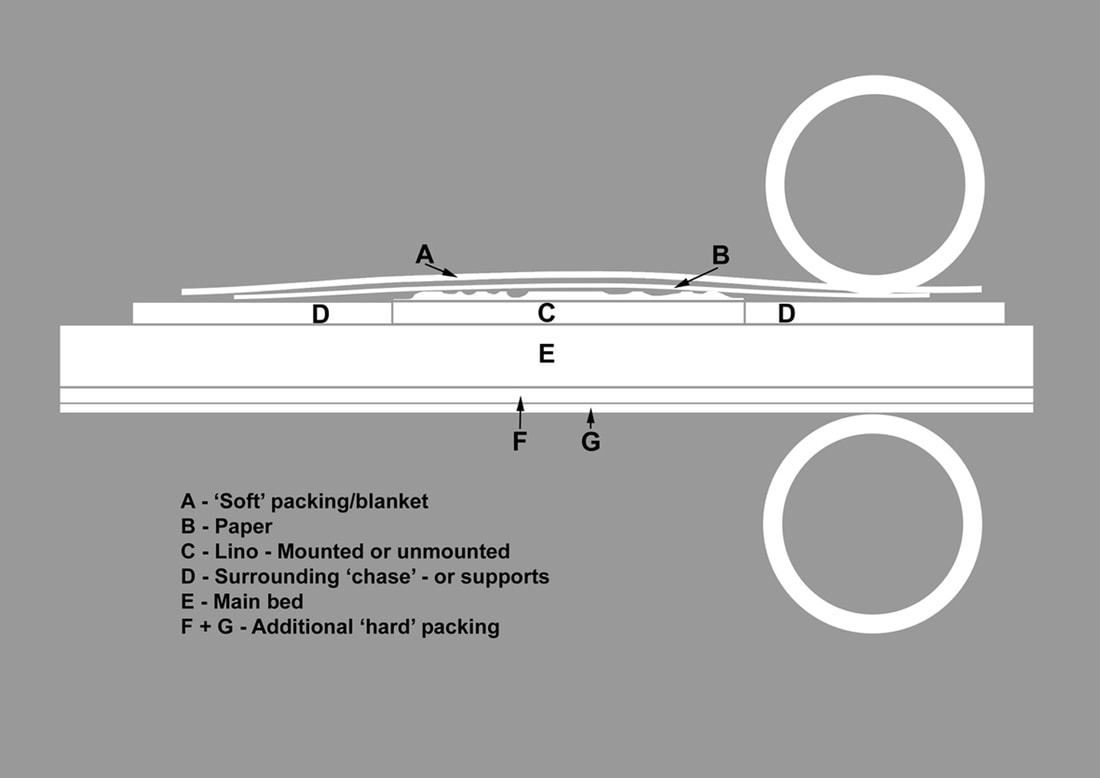
So then with a piece of the same thickness paper I intend to print on, plus my preferred 'soft' packing or blanket (smooth coated felt table top protector, felt side down) I have the basics of my 'sandwich': base board, 6mm MDF, lino, paper and packing.
Note too that with mounted lino and a tight fitted chase or even unmounted lino and just side supports, the only raised element is the lino surface to be inked. This stops the rollers 'bumping' into a sudden edge and shifting paper and block.
Note too that with mounted lino and a tight fitted chase or even unmounted lino and just side supports, the only raised element is the lino surface to be inked. This stops the rollers 'bumping' into a sudden edge and shifting paper and block.
As this press has no pressure adjustment, print pressure can only be controlled by (often very small) adjustments of the 'sandwich'. It is important to understand too that as a rule, all 'hard' sandwich ingredients should go under the lino and 'soft' packing and paper on top. Some people like a firm packing. like card, on top of the paper. I generally print on 300 gsm satin finish Somerset paper and I like the combination of thinnish ink layers from the micro textured surface and fine carving detail of the lino; plus the very very slight embossed quality one thin blanket layer gives me. If I want solid thick flat layers of colour, I'll use screen print.
I know the roller gap measures approximately 28-30 mm, so I then build up my sandwich with sheets of board and card to that, again rather approximate, thickness.
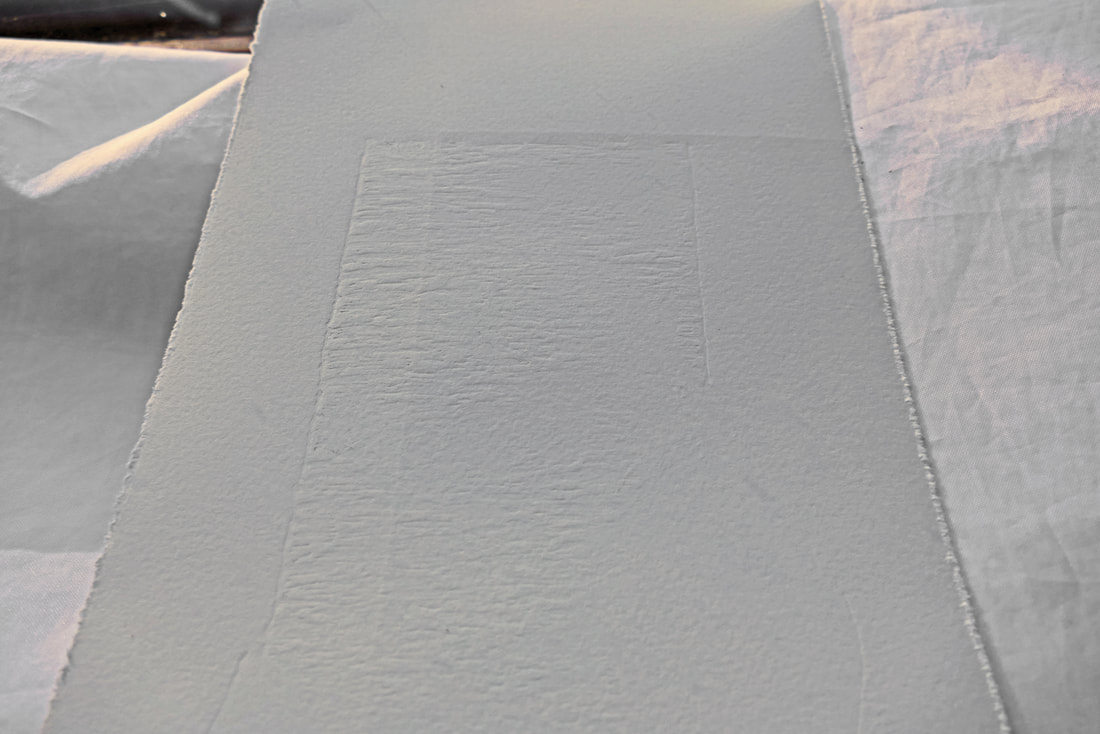
My next step is always then to run the sandwich through the press using a scrap piece of the exact same paper, but with no ink.
I am looking for two things: One, that I can feel just a slight resistance as the sandwich is gripped and feeds itself through the press. And two, the surface of the paper has a slight but even deboss mark from the un-inked block.
Those factors are fairly subjective however and each and every block, inking and paper combination may well require subtlety different pressure adjustments. Personally as my Marmoleum is quite thin, I usually tweak these pressures by the addition of sheets of paper underneath the mounted lino.
The next stage of set up is to decide on inking methodology. For me this is just as crucial to the operation as the pressure. I am often shocked when I see people attempting to get consistent high quality prints by just dipping a hard cheap plastic roller at random into a big dollop of ink, then rolling it out as thick as treacle and attempting to control inking amount on the block itself!
I am a stickler for consistency. If someone buys one of a signed and numbered edition of mine, I want them to be confident that every one of the edition is as identical to the rest as any original individually made print can be.
It seems obvious, but the amount of ink on the slab will directly affect the amount of ink on the roller; which will, in turn, directly affect the appearance of the print. Unless you are using thick layers of completely opaque ink (and even then finer details and edges of areas will quickly smear and fill in if there is too much ink) any variation in the amount of ink applied to the roller and thence to the block will change the tone of the print.
It seems obvious, but the amount of ink on the slab will directly affect the amount of ink on the roller; which will, in turn, directly affect the appearance of the print. Unless you are using thick layers of completely opaque ink (and even then finer details and edges of areas will quickly smear and fill in if there is too much ink) any variation in the amount of ink applied to the roller and thence to the block will change the tone of the print.
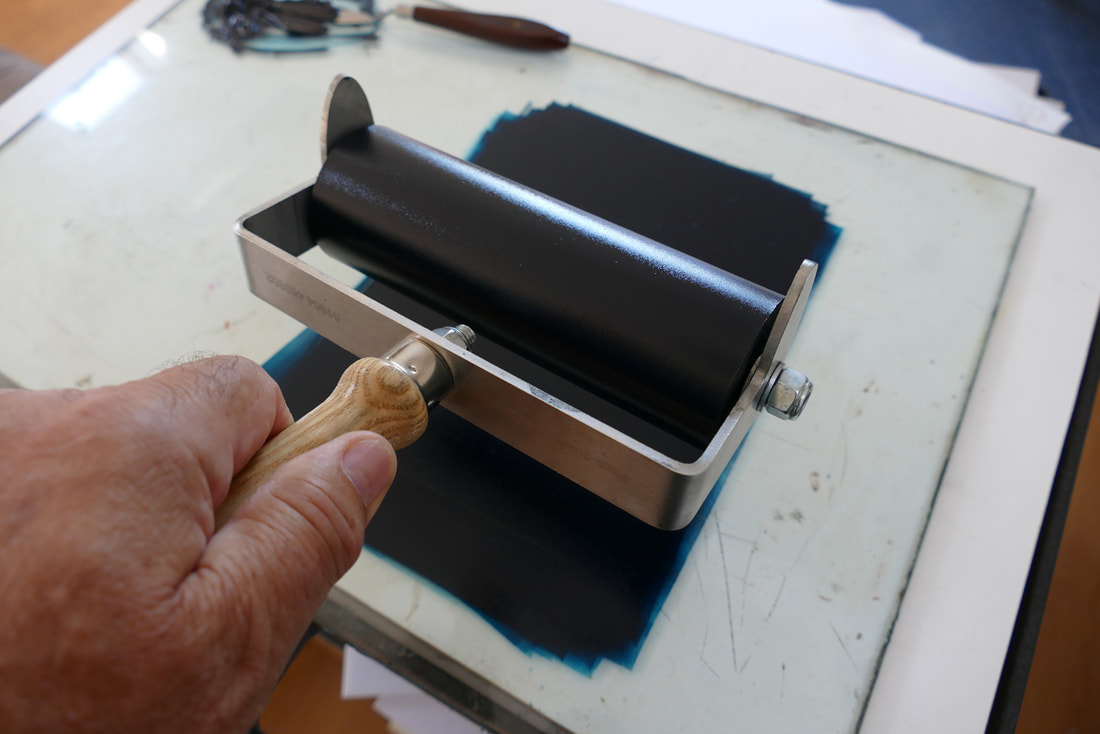
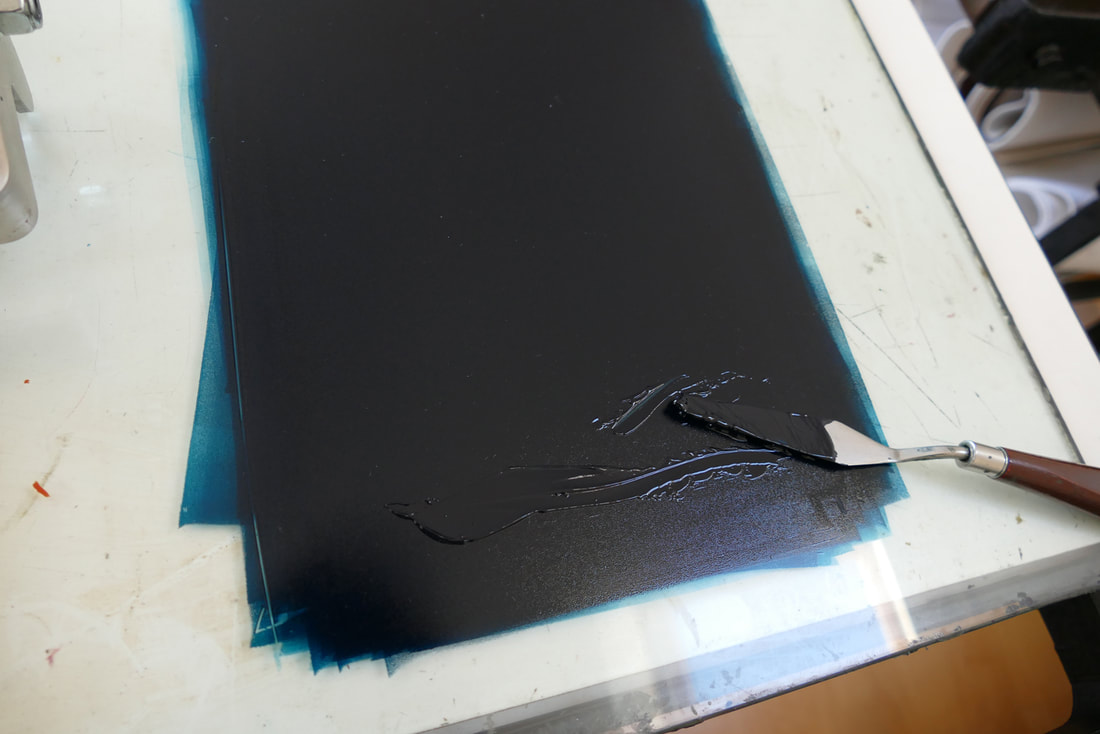
So I will almost always require a good quality softish roller (25 - 30 shore) which will apply the ink more evenly and with less effort. I will decide on the amount of ink I want on the slab for each inking (and therefore as I said, how much I want to put down on the print) by practice proofs - which must be on some of the actual paper I will be using for the edition; and by looking feeling and listening to the very slight hiss of the roller. I will then, using a knife, add only the amount of ink required from my main ink pile to the slab. This will be every other print or sometimes each one.
I will then apply the ink in the same way each time and check every print against the first perfect one (the BAT if you like) to see I am not inadvertently gradually increasing or decreasing the ink amount.
 RSS Feed