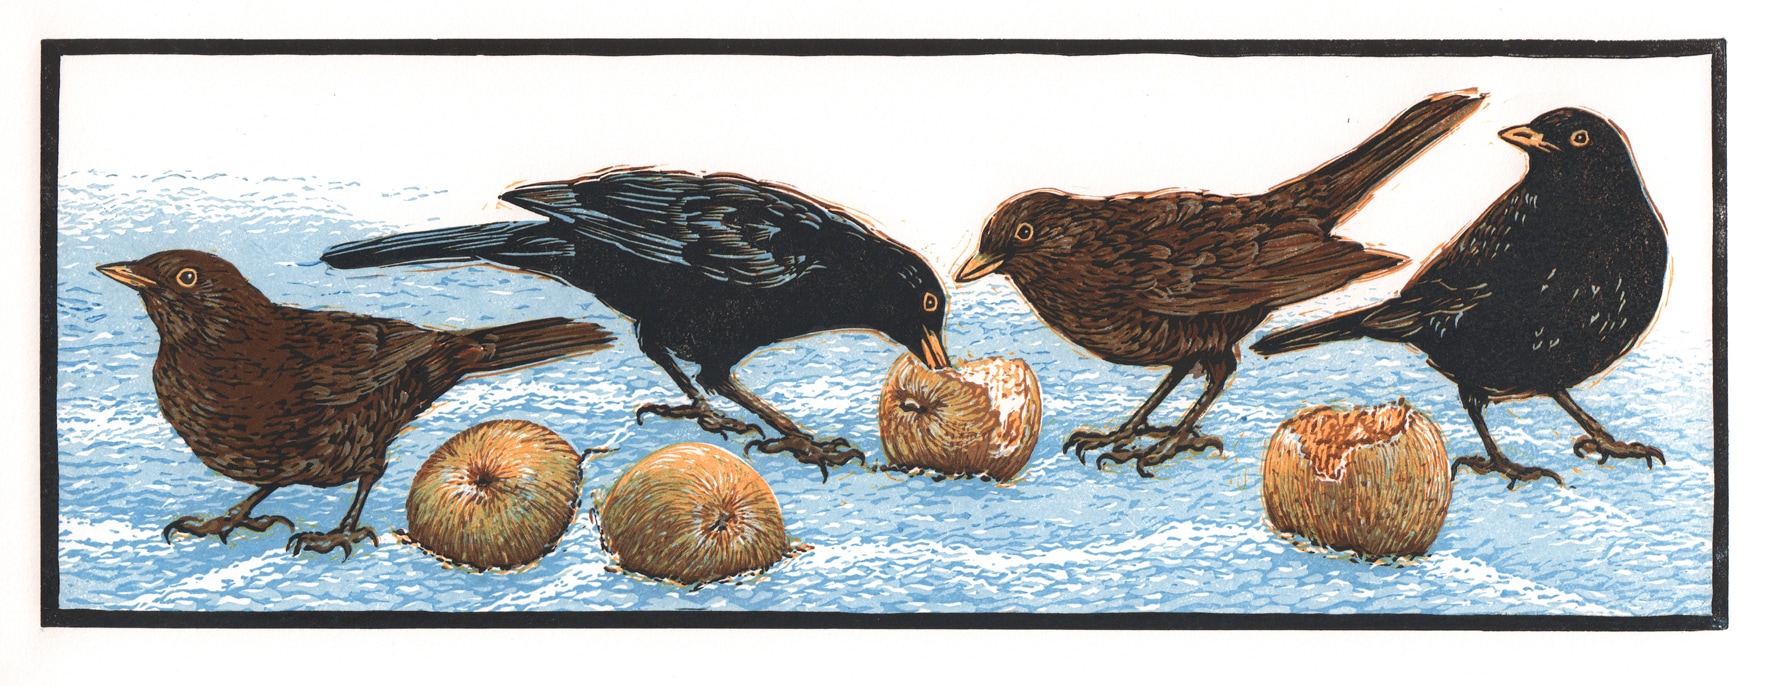
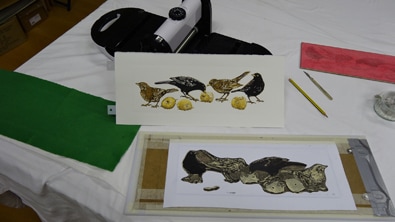
In my blog entry of 11th January I outlined my first experiences with the little XCut Xpress. As I said then I was keen to really test the little press’s ability to produce more complex work. What follows is a description of the making of a two block reduction linocut which was designed to require accurate register, evenness of pressure over its full width and maximum length and consistency across an edition.
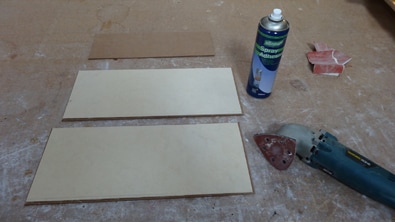
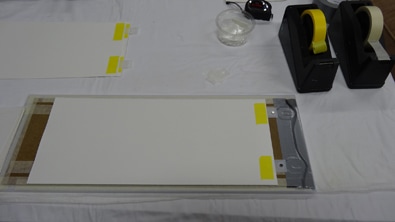
I had already made one adaption, which was to make a longer print bed for it from a cut down commercial chopping board; giving me a bed of 600 x 220 x 13 mm. This enabled me to plan a print area of about 40 x 15 cm whilst still having room for a supporting frame or ‘forme’, made of pieces of the same 4mm hardboard my lino is mounted on to, and allowing room to attach the Ternes Burton registration pins.
A picture paints a you know what, so I thought I'd describe the process in captioned pics:
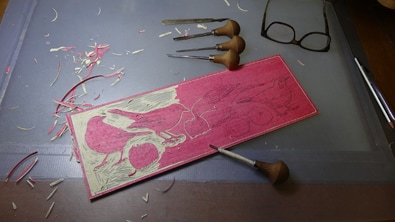
I use commercial flooring lino - 'Marmoleum' - glued firmly to a backing board and sanded smooth and flat.
I had already made one adaption, which was to make a longer print bed for it from a cut down commercial chopping board; giving me a bed of 600 x 220 x 13 mm. This enabled me to plan a print area of about 40 x 15 cm whilst still having room for a supporting frame or ‘forme’, made of pieces of the same 4mm hardboard my lino is mounted on to, and allowing room to attach the Ternes Burton registration pins.
A picture paints a you know what, so I thought I'd describe the process in captioned pics:
I use commercial flooring lino - 'Marmoleum' - glued firmly to a backing board and sanded smooth and flat.
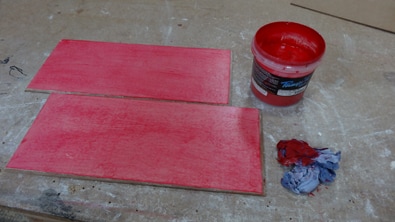
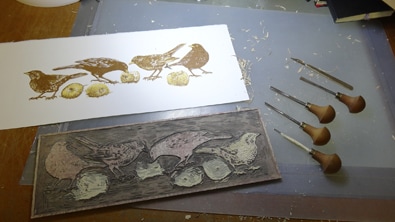
I stain the surface with acrylic ink so I can see where I'm carving - at least in the first stages. The two blocks planned for this print were cut exactly - and I mean exactly the same size.
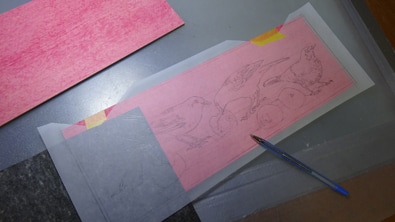
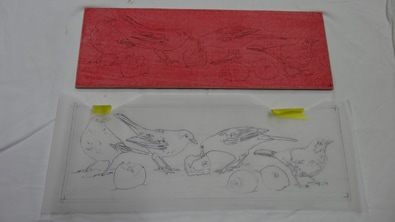
A plan of sorts is of course vital: a basic 'map' outline composition plus some very careful listing of proposed printing orders and colours. These always change as I go along ..... like all the best laid plans!

I transferred the 'map' to the first of the two blocks using carbon paper.
 |  |
Then the fun bit begins!
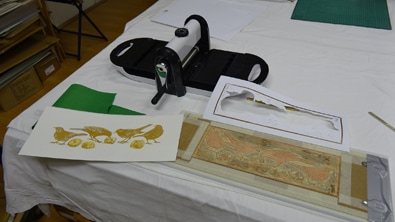
A very tight fitting 'forme' - made of the same 4mm board that the lino is glued to - is made up by taping pieces of it to the press bed.
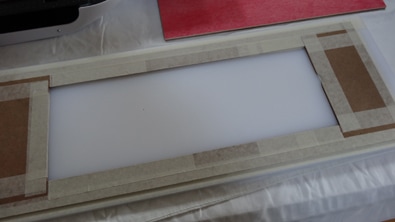
The carved block to be printed then fits exactly in to the forme and the lino itself then sticks up just enough to be inked.

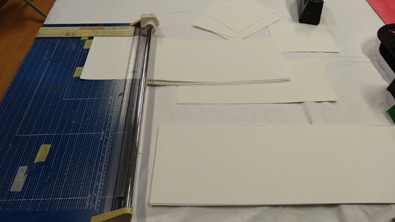
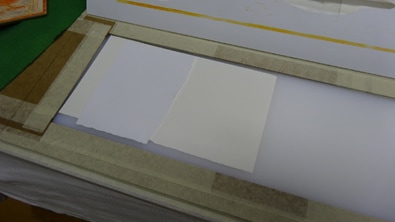
The paper - in this case, my usual beautiful 300gsm Somerset - is cut to size. I usually allow an extra 20% more than the hoped for edition size to allow for proof sheets and mistakes. In this case I doubled the amount. Good thing too as it turned out!
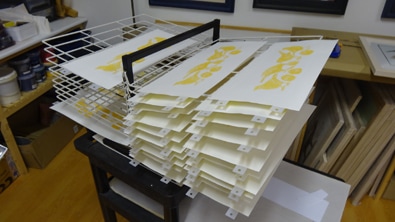
The Ternes Burton tabs are the attached to each sheet. (I will do another blog post on the use of these if anyone is interested)
The Ternes Burton tabs are the attached to each sheet. (I will do another blog post on the use of these if anyone is interested)
 |  |
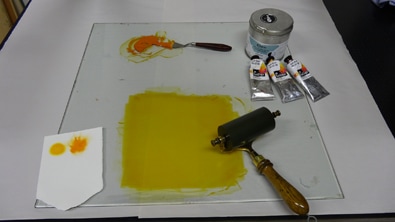
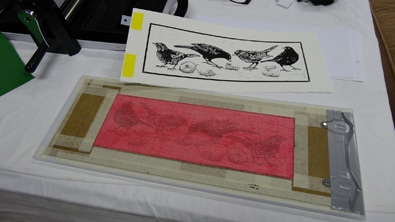
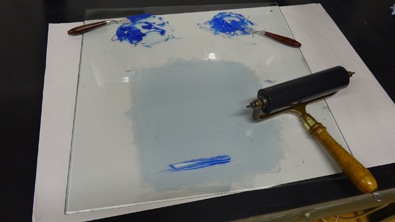
I use Caligo Safewash inks at the moment; nearly always with extender added. The yellow - being the palest - is planned to be the first colour down in the reduction.
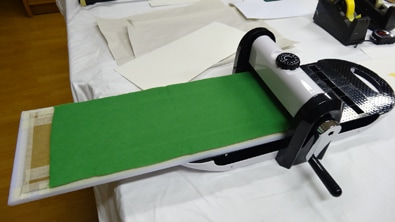
And so the little XPress goes into action! A thin 'blanket' made from a piece of felt fabric is all it needs to take up any slight texture and detail on the block and help drive the paper and block evenly through the rollers. I also used a flip over thin paper mask to avoid any unnecessary ink getting on to the background of the image.
 |  |
I found that this particular block was printing patchily in one area. This was remedied by some 'make ready' packing placed under the block to level the pressure and so ensure consistency (as long as I inked each print exactly the same!) throughout the planned number of sheets.
 |  |
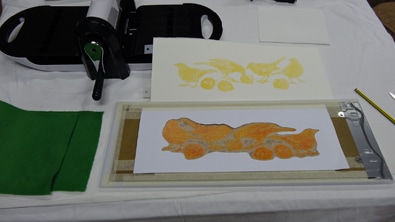
Some of the block was cut away and the next colour (a transparent brown) printed. At this stage I should have realised that the XCut has quite a nip and this long narrow piece of paper - despite the accuracy at the 'near end' of the TB pin system - was being slightly twisted out of register at the 'far end' on some prints!
At this stage I also took a print in a dense black, placed the second block in to the forme and ran the wet black proof through the press; thus giving me an exact 'offset' in register image to carve the second set of colours when I reached that stage.
And so the normal reduction process on the first block continued: Cut away the paler brown....print the next darker brown.
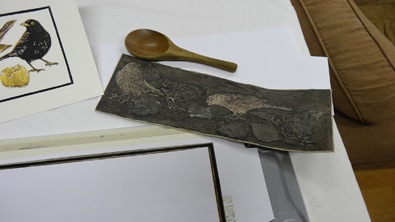
The last colour on this block was a straight black. I printed this in two goes: a masked background for the main image, then I removed the main image entirely by peeling the lino off the support block altogether and printed the border - again masked to keep the background clean - separately. The little press did just struggle to print solid on the very corners of the border. I could have just tweaked the pressure down a bit, using the all important dial that this press has, but decided instead to just to use the old wooden spoon on some of the corners.
 |  |
Having, by now, realised that just two TB pins on the short edge of this print were inadequate to avoid some sheets twisting out of register on the 'far' end; for the second block I decided to use a conventional card stop plus a little bit of tape on this furthest edge to maintain positional consistency.
The second reduction consisted of two tones of blue and a final brown; all very transparent. It should be noted too that when printing these transparent layers, very careful consideration has to be given to the amount of ink rolled out each time on the slab. For these I only added a very small amount every other print, to avoid over inking and maintain consistency of colour.
 | 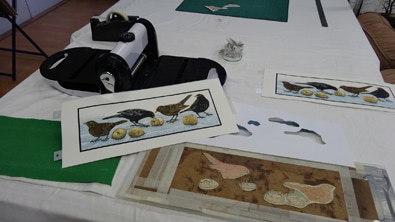 |
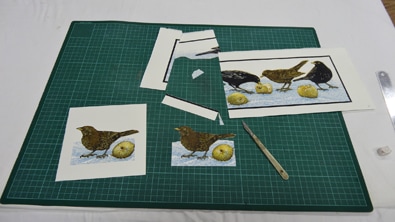
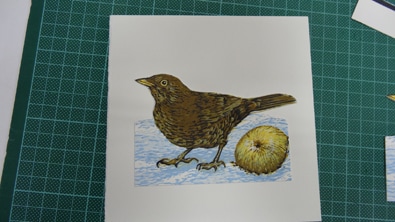
A footnote to this project. Having, through my own lack of foresight, ended up with a number of prints unacceptably out of register at one end; I decided to cut out the really very successful little hen bird at the other end and mount her on to separate small sheets to make additional little 'prints'.
 |  |
Conclusion:
This XCut Xpress is a wonderfully useful, compact, well made bit of kit. Very limited in print size potential of course, (I'm harbouring a secret desire to make a super long bed and print a meter wide print) but after this, I'm looking forward even more to demonstrating what it plus a bit of flooring and some ink can do!
This XCut Xpress is a wonderfully useful, compact, well made bit of kit. Very limited in print size potential of course, (I'm harbouring a secret desire to make a super long bed and print a meter wide print) but after this, I'm looking forward even more to demonstrating what it plus a bit of flooring and some ink can do!
 RSS Feed