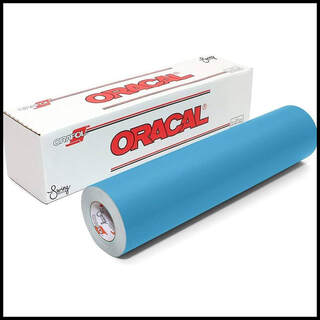
In further pursuit of possible ‘table top printmaking’ techniques: using vinyl stencil film to make hand cut screenprint stencils
Although I personally have all the kit to make and use any kind of screenprint stencil, many people will not have the ability to wash out and reclaim screens. Simple paper stencils are ok but fragile and almost impossible to accurately leave ‘islands’ of stencil, surrounded by open areas.
I saw this product - Oramask 813; made really for Cricut type digital machine vinyl cutters, to make paint stencils; and wondered if I could hand cut a stencil and effectively adhere it to a screen….print and wash out ink as normal, without destroying the stencil. Then when finished, simply peel off the stencil without recourse to chemicals and pressure washing? My research didn’t turn up anyone else trying this as a multi-layer paper printmaking technique, but I don’t suppose I’m the first?
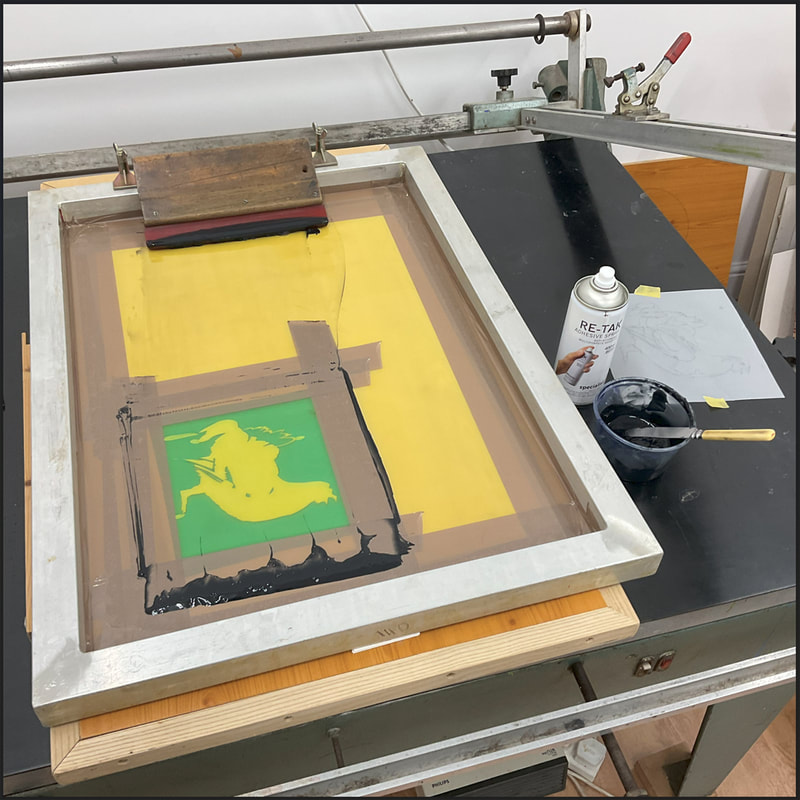
So here’s a record of my first attempt and initial thoughts and reactions. Note too - all printing was done on one of my simple homemade screenprint tables (a piece of reclaimed kitchen unit and some cheap, but best quality, hinge clamps).
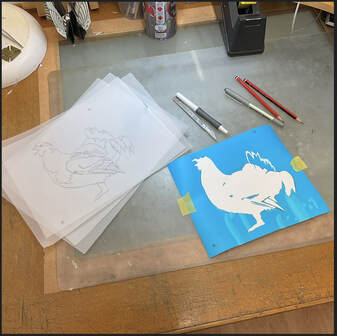
The film is 3 mil/thou thickness and comes on a tight roll with a fairly thick backing sheet. Which brings me right away to the only real problems I encountered:
3 mil is actually very thick for a screen print stencil. Using my usual fine (140 T) mesh which I prefer with water based inks to minimise paper cockling, it needed two squeegee pulls at high pressure to get all of the ink through finer lines and points.
Also, with transparent ink – which for me is likely to be usual with multiple layers – a dark outline at the edge of the shape appears, from the ‘wall’ of the stencil itself. I personally like this effect as it brings more life to screen printing - which can have quite a flat uniform and rather ‘dead’ quality.
Secondly, the adhesive of the film obviously and quite rightly does not hold it to its backing paper all that well. Unrolling a useable piece and keeping it flat is quite is quite tricky. The film tends to release in places where one doesn’t want it to; especially with the warmth of handling during tracing and cutting etc. I found that these were also then the areas that did not adhere quite so well to the mesh and began to come off during printing and clean up.
This thick backing paper also means that tracing from a working drawing in the normal way with hand cut stencils requires a light box (or window) behind it. I did however find that a fine Sharpie pen can be used to draw on the film first without detriment.
I have a lot of experience at cutting stencil film, from my days of using toxic, smelly solvent inks, so I used my usual 10a scalpel to cut the stencil and a point pick to ‘weed’. There are other knives, even swivelling ones available but they do need to be sharp and fine pointed. The trick is not to cut into the backing sheet but only and cleanly through the film. Practice first!
Now I know that some people will use Cricut type machines to accurately duplicate a digital image as a stencil. Well, it’s a big debate that there is no time to argue here, but personally I prefer images that are ‘drawn’ with the tool in hand in much the same way as I do with linocuts. However I do make photo film screen stencils too – so one day I may have a go!
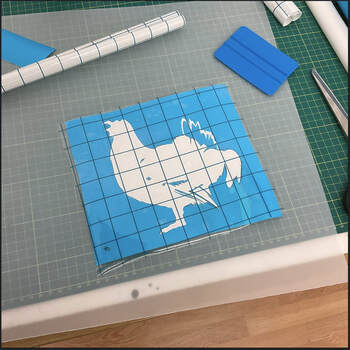
Once the stencil is cut and weeded the method then is really very simple.
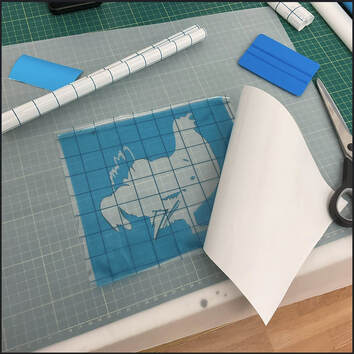
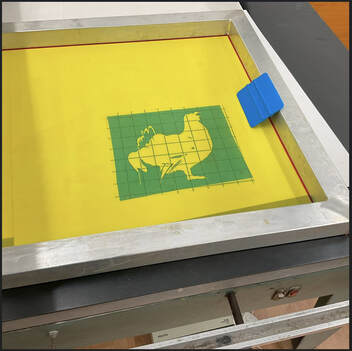
A piece of vinyl transfer tape (lots available from craft suppliers) a little smaller than the stencil, is peeled from its backing and smoothly laid directly on to the face (cut side) of the stencil and smoothed down with some sort of small smooth soft edged squeegee. I had one of these already but one could be fashioned from soft plastic - or they’re a couple of quid from craft suppliers.
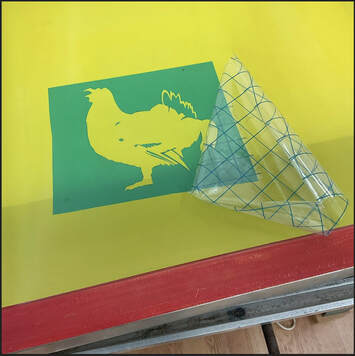
The backing is then peeled from the stencil and, with its sticky side up, positioned under the screen. In fact, I got where I was using the same part of the screen and positioning the stencil in register on a print, before lowering the screen to attach it in the correct position.
Once tacked on to the underside of the mesh, I put a flat pad of a few sheets of clean newsprint under it and using the small squeegee, carefully avoiding damaging the screen mesh, but with pressure, really rubbed all parts of the stencil to attach it to the mesh. The transfer tape is then peeled away, leaving the open stencil and making sure all the small ‘island’ pieces remain in place. Then a careful final rub down.
Once tacked on to the underside of the mesh, I put a flat pad of a few sheets of clean newsprint under it and using the small squeegee, carefully avoiding damaging the screen mesh, but with pressure, really rubbed all parts of the stencil to attach it to the mesh. The transfer tape is then peeled away, leaving the open stencil and making sure all the small ‘island’ pieces remain in place. Then a careful final rub down.
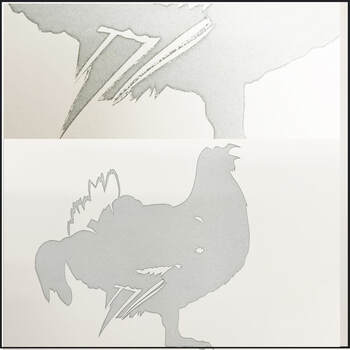
The screen can then be prepared and set up just like any other stencil.
However, when it comes to actually printing, as previously noted the thickness of the stencil will probably mean some adaption of squeegee technique, angle and pressure; especially if the stencil image has thin lines or sharp angles.
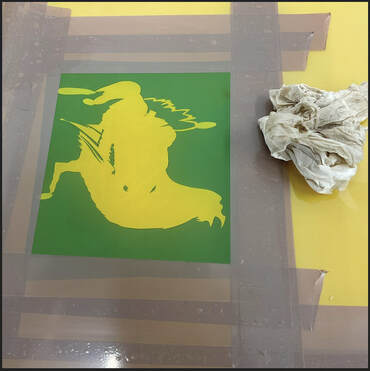
The adhesive of this Oramask 813 is water based and I expected problems using water-based screen inks. It is possible that very long runs might cause some detaching of the stencil. But with normal art printmaking edition sizes I’m sure it will be very durable.
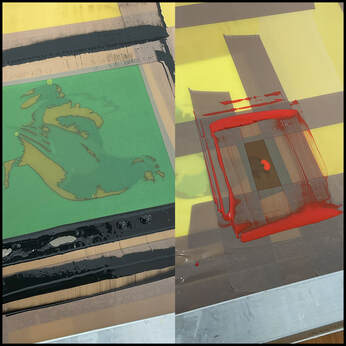
I also tend to wash up my screens after printing without removing them from the press. Again, I thought this might destroy the stencil. In fact, it was not until the fifth use of the same area of the screen that some areas of that stencil began to problematically detach during printing and cleaning.
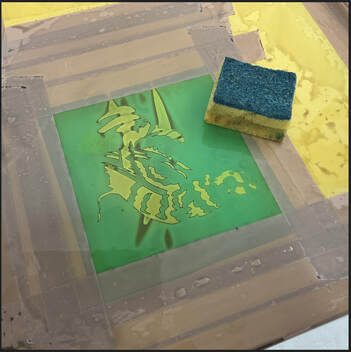
I put this down simply to the fact that these very fine meshes do not have much ‘tooth’ for the adhesive; and that after four printings and cleanings with just plain water and a sponge, that area of the screen had a microscopic ‘greasy’ film left from the acrylic inks and stencils. If I had used a freshly degreased screen area, there would have been better adhesion.
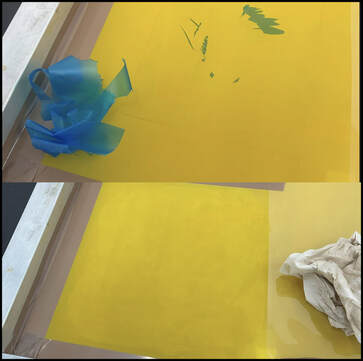
After printing, to reclaim the screen, the stencil itself just peels off the mesh. Small areas may tear, but simpler stencils come off in one piece and could well be used again!
A second wash with clean water removes any ink residue and the screen is effectively ‘clean’ again.
However, I personally would use something (as eco friendly as you like) to really clean and degrease the mesh before further use.
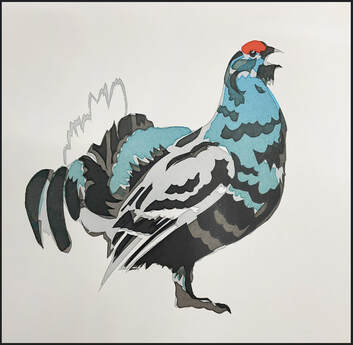
Conclusions: As a first experiment for me, I was delighted. I have even already sold most of the small edition that came from it! There are other similar products around which I intend to try out and like all techniques in printmaking, continued practice will bring about improvements and solutions to problems.
Of course, at the end of the day, this technique has big limitations and is really only suitable for appropriate images. Simple flat shapes will not suit everyone. But with some thought and the use of overprinting of layers, I’m sure results can be exciting and dynamic.
It may well also be useful to overprint other images such as linocuts instead of laborious and potentially inconsistent hand colouring. So in combination with say a craft press, and using a simple home made screen table, this method is capable of producing full editions of high quality prints ….in anyone’s kitchen!
 RSS Feed