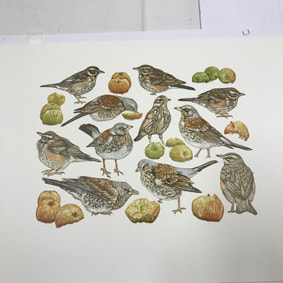
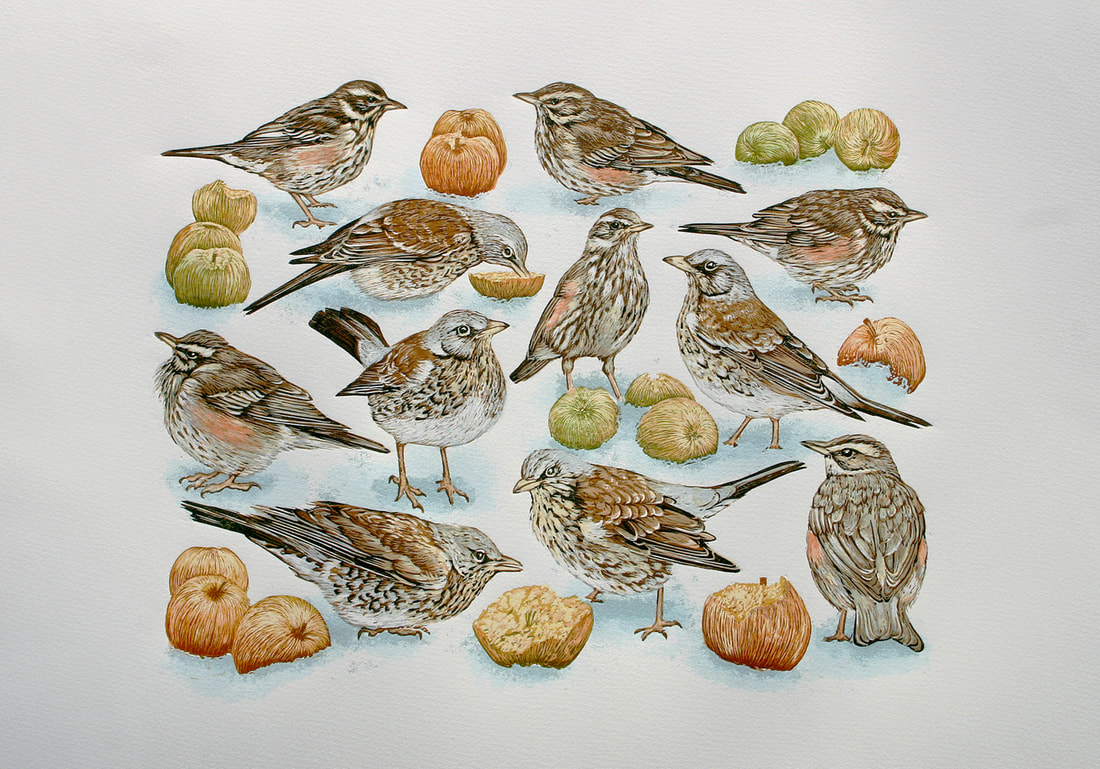
A few pictures of the process of making my latest print: 'Winter Visitors' A Linocut with Screenprint, 38 x 50 cm.
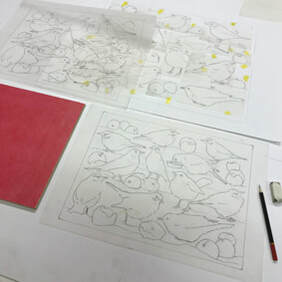
Preparation and composition; using lots of bits of various tracings from enlarged/reduced/flipped/distorted/collaged images of the birds (Redwings and Fieldfares) and apples. A full day’s work just to get the composition and sizing right.
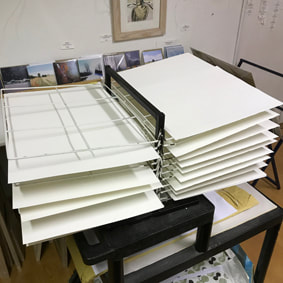
Meanwhile 300gsm Somerset (beautiful versatile paper) is laid out in the studio drying rack for at least 48 hours to stabilise size changes due to temperature and humidity combinations. The plan is for around 20 in the edition, so 25 or so sheets are prepared to allow for proofing and losses.
Meanwhile 300gsm Somerset (beautiful versatile paper) is laid out in the studio drying rack for at least 48 hours to stabilise size changes due to temperature and humidity combinations. The plan is for around 20 in the edition, so 25 or so sheets are prepared to allow for proofing and losses.
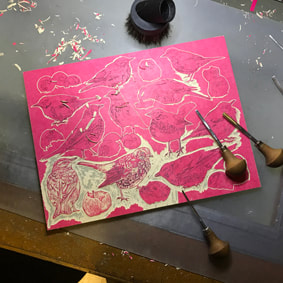
Prepared Marmoleum block (see previous posts on this) is cut to size and the final key drawing reversed and transferred with carbon paper. Then ‘drawing with the gouges’ i.e. carving, of the planned first tonal/colour layer.
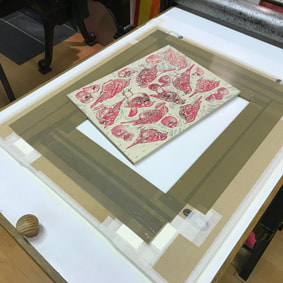
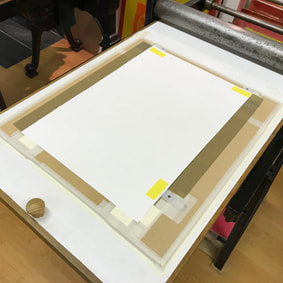
A tight fitting surrounding ‘forme’ - which holds the block precisely in place - is made and fixed to the press bed. The three Ternes Burton pins are fixed to the forme (I like to use two ‘lay edges’ of the paper and the 3rd pin also helps prevent any sideways twist). Each sheet of paper is positioned and TB tabs attached.
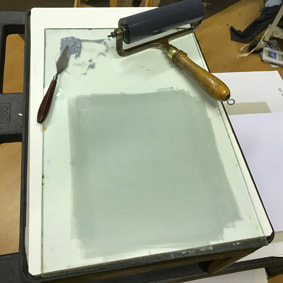
Reduction lino prints require faith in the first choice of tone and colour! Transparent inks (Caligo Safewash) are used to retain the luminosity of the paper and allow controlled ‘spot’ inking of blends etc. which are consistent through the whole edition pile.
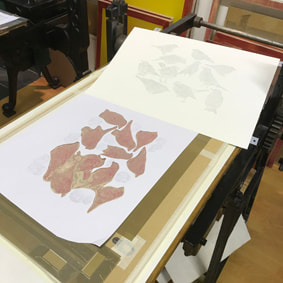
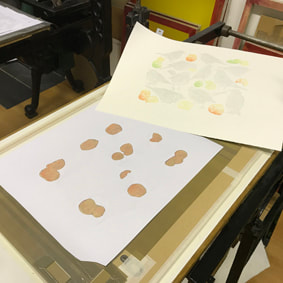
Masks, made with strong cartridge paper, are carefully cut. These both prevent unwanted background carving marks and, in this case also allow two printings from the one carving stage: all sheets printed once in grey for the birds; the prints left overnight to dry to just tacky; and then printed again with spot blends for the apples.
And so the normal reduction process continues, using more masks and spot inking: Four tone/colours (eight printings in all) using some basic tonal separations of some of the original sources but worked out ‘by eye’ and by drawing with a soft pencil, then directly with the gouge i.e. not traced.
The layers are printed almost ‘wet on wet’. By the time the next colour stage is carved the reduced ink is dry enough to print on. There is some ‘set off’ on the masks of the previous colour, but this does not affect the colour or sharpness of the previous layers.
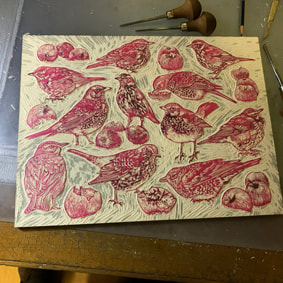
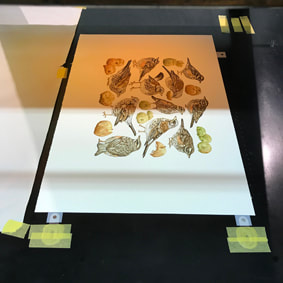
And so the lino stage of this dual media print is complete; somewhat weak as an image, but that is deliberate as the planned screen print layers should bring it together.
And so the lino stage of this dual media print is complete; somewhat weak as an image, but that is deliberate as the planned screen print layers should bring it together.
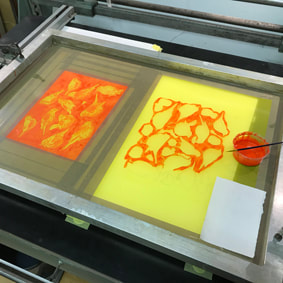
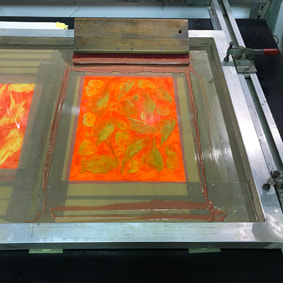
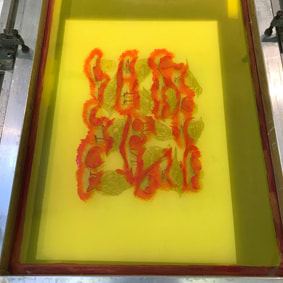
The screen stencils are traced and hand painted in my normal way (again see previous posts on this) and around six more transparent reduction layers are overprinted on the birds and apples.
The original intention was to use conventional screen print stop tabs to do this but the position of the TB pins and tabs meant there was no danger to the screen mesh (and there was probably too much variation in my cutting to size of the paper anyway) I decided to use them to register the screen stencils. They are super accurate!
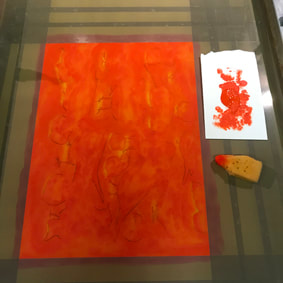
A final three stage reduction stencil is then made to suggest blue snow shadows using a sponge to give a soft edge …. And the print is complete!
Contact me here if you are interested in purchasing one of these prints. Thank you!
 RSS Feed