A follow up post on the use of vinyl masking stencils
As a number of issues arose from my first attempt at using vinyl masking films as screen print stencils, I decided to continue with the experiments. But before I describe the efforts, let me make a couple of points:
I know I am not the first by a long way to try this. However I am not interested in simply creating a digital image, having it mechanically cut out for me on a Cricut and then printing it!
That might be good for printing professional looking T-shirts at home, but I am a printmaker and my ambitions lie in creating original images not achievable by other means and which develop progressively in their making. That sounds a bit elitist I know but I'm sure you understand what I mean.
Also, I know there are many serious ‘fine art’ printmakers who do not have easy access to screen stencil making and reclaiming facilities, but could make use of a simple clean method of making quick basic screenprint images or even just overprints on linocuts for example.
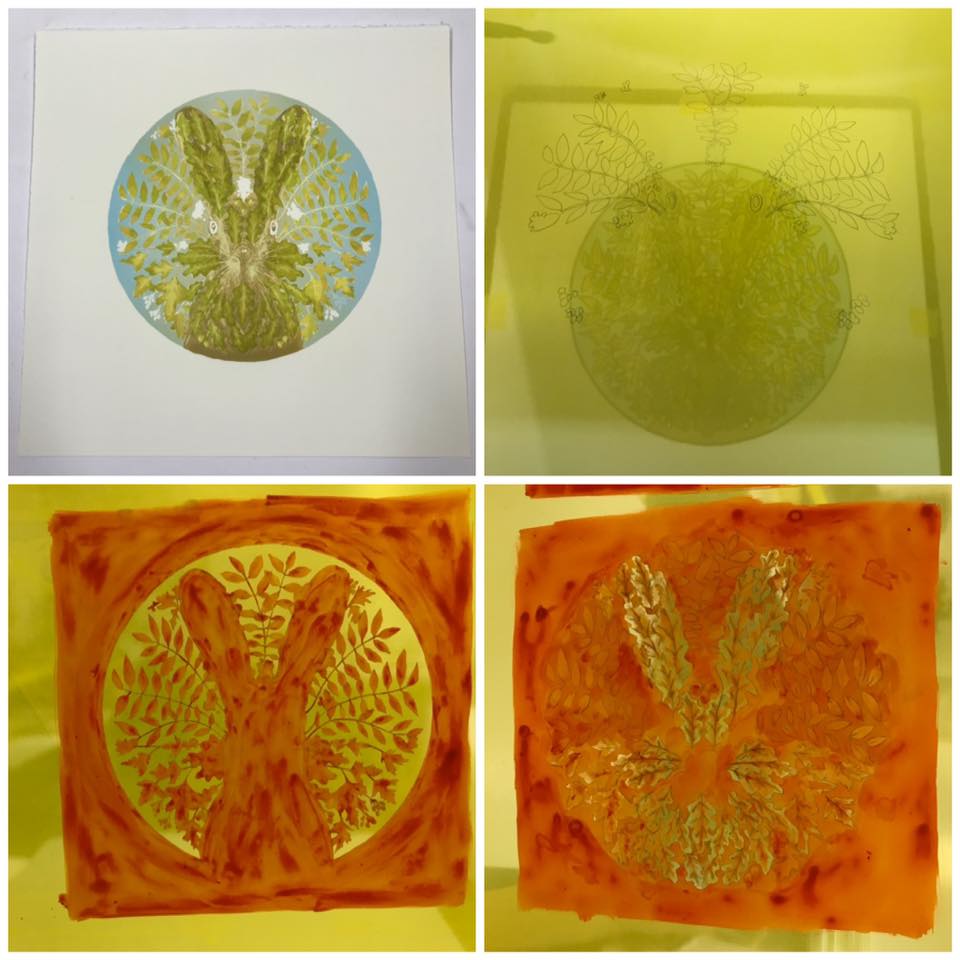
Anyway, I thought that some of the problems I had with my first attempts were possibly solvable by using a different product to the Oramask 813.
Some people have tried films like Oracal 651 vinyl. However, that is I think not a stencil film as such, but designed for actual image application. I've not handled any of it.
Nor have I actually tried Oramask 810. I believe this is more flexible - for stencilling on curved surfaces. So I didn't choose that first as I thought it might distort. If I was desperate to use this stencil method more, I might try some.
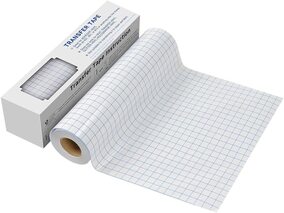
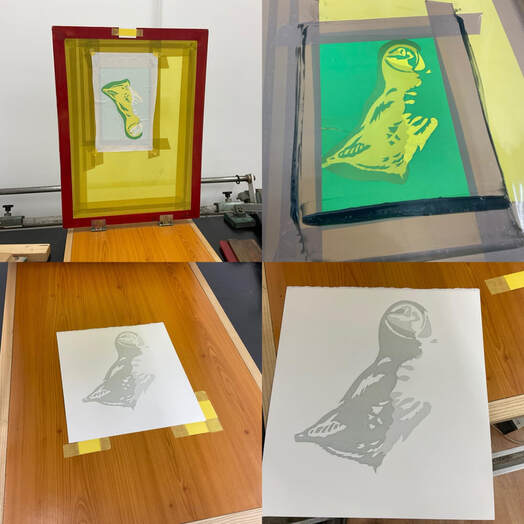
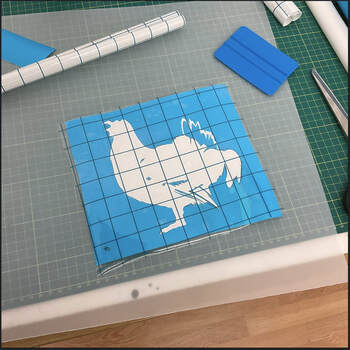
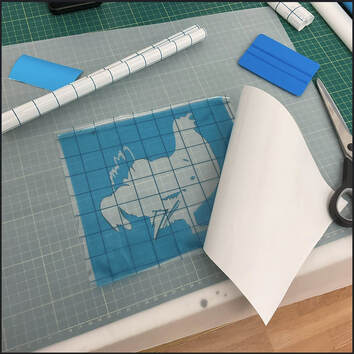
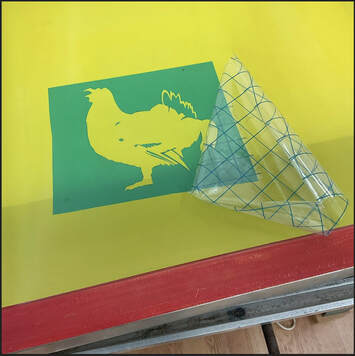
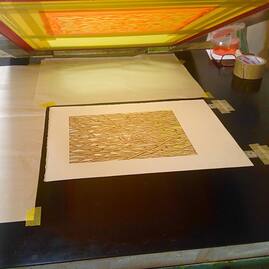
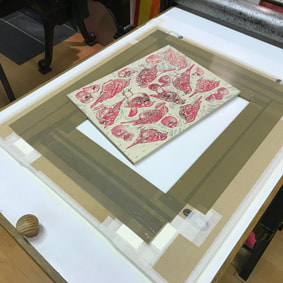
I also realised during these efforts that in fact the real key to all of this is actually the use of transfer tape.
The ability this gives to accurately lift all bits of a cut vinyl sheet from its backing and transfer it to whatever surface is really what sets this method apart from other similar methods like paper stencils.
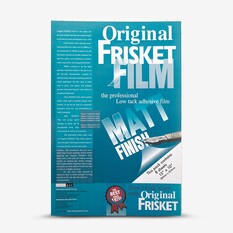 |  |
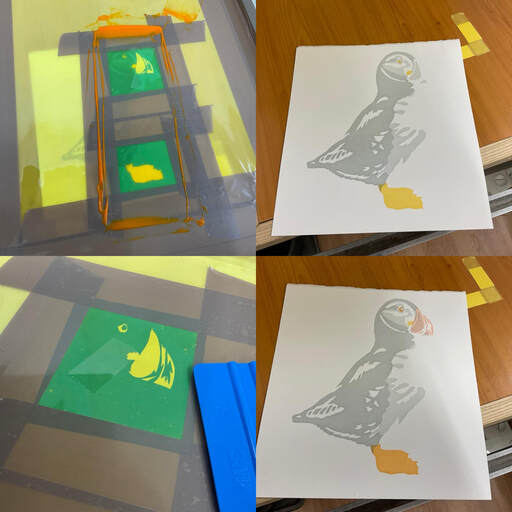
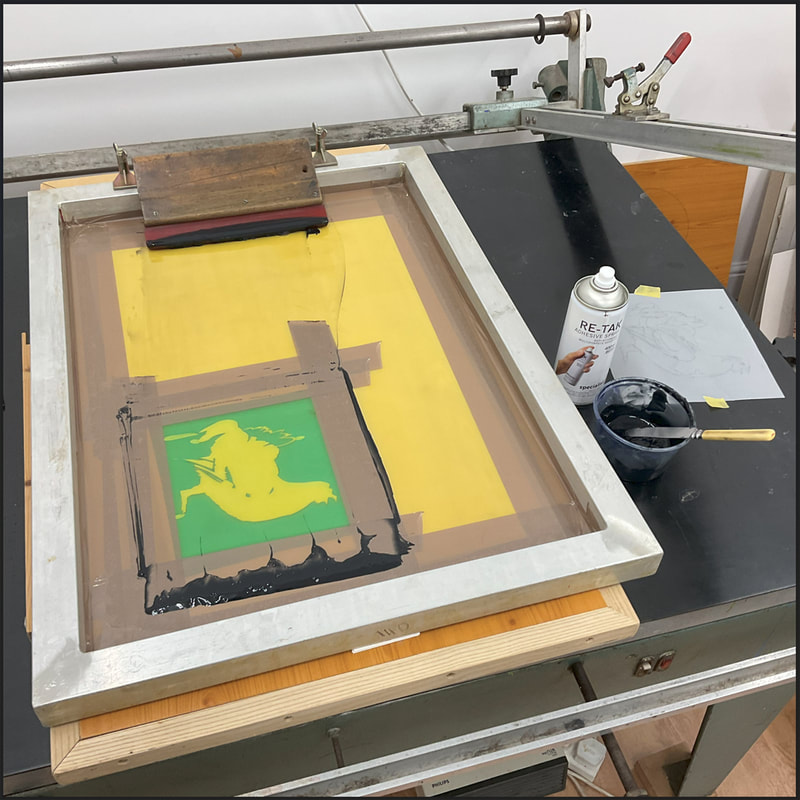
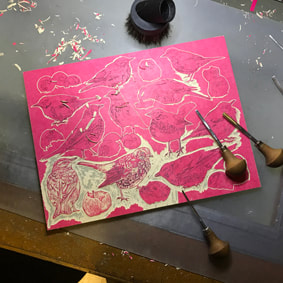
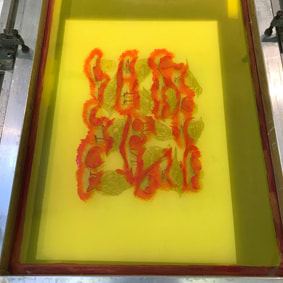
So I went ahead and tried traditional Frisket film again; which does kind of work in simple areas. It is too transparent and nowhere near adhesive enough to stand up to transfer or repeated printing.
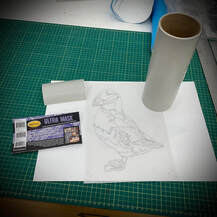
I also bought some cheaper grey 'Ultra Mask' stencil film; mainly because it was thinner than Oramask. It had largely the same problems as the Frisket unfortunately.
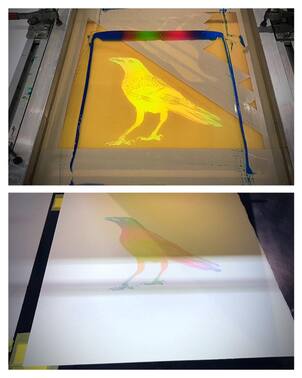
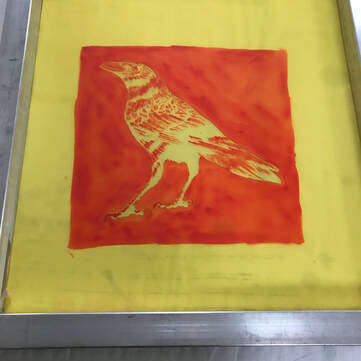
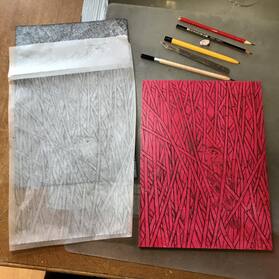
So as I still had a roll of the blue Oramask – it was back to that!
I also bought some cheaper grey 'Ultra Mask' stencil film; mainly because it was thinner than Oramask. It had largely the same problems as the Frisket unfortunately.
So as I still had a roll of the blue Oramask – it was back to that!
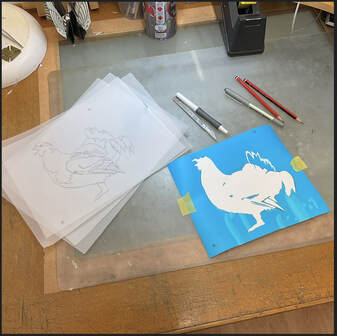
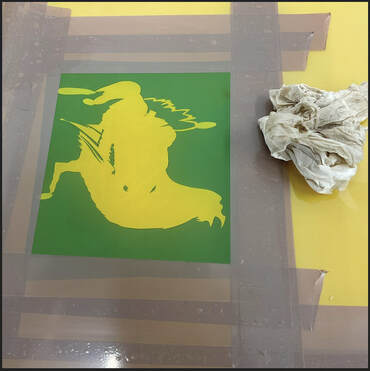
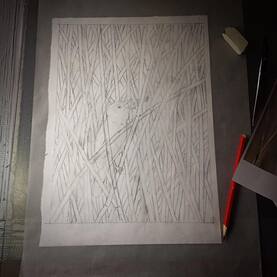
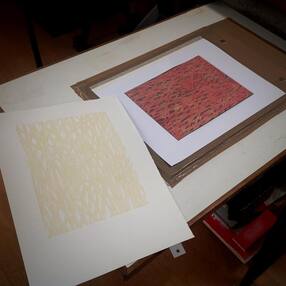
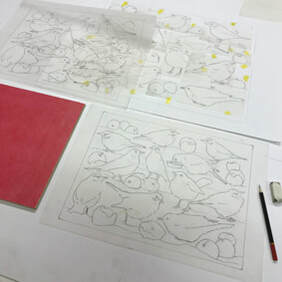
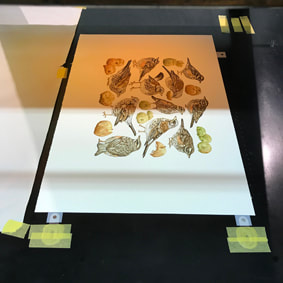
813 is easy to cut - but a right bugger to keep flat off the tight roll it comes in and then prevent it getting warm under the hand and detaching itself from the backing paper. Also the thick backing paper means a good light box is needed to hand cut to a tracing outline drawing, which is what I was doing. In fact sometimes I used a very fine Sharpie to draw on the film surface too; which worked fine. So perhaps a more flexible film like the 810 would be easier to handle?
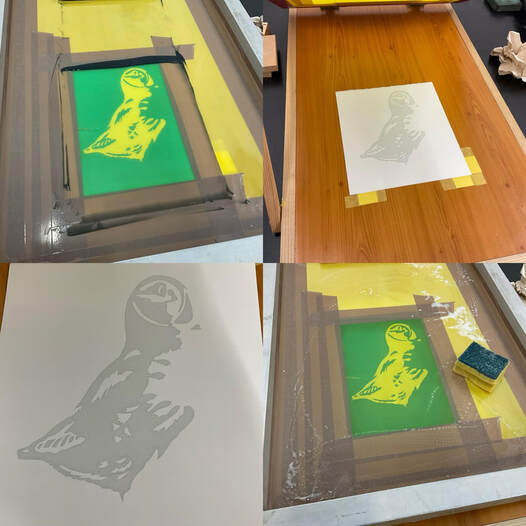
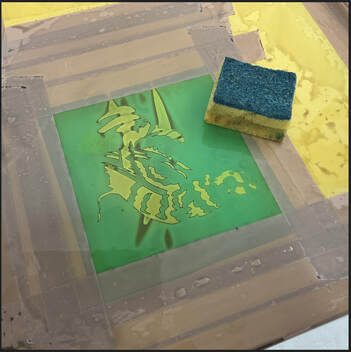
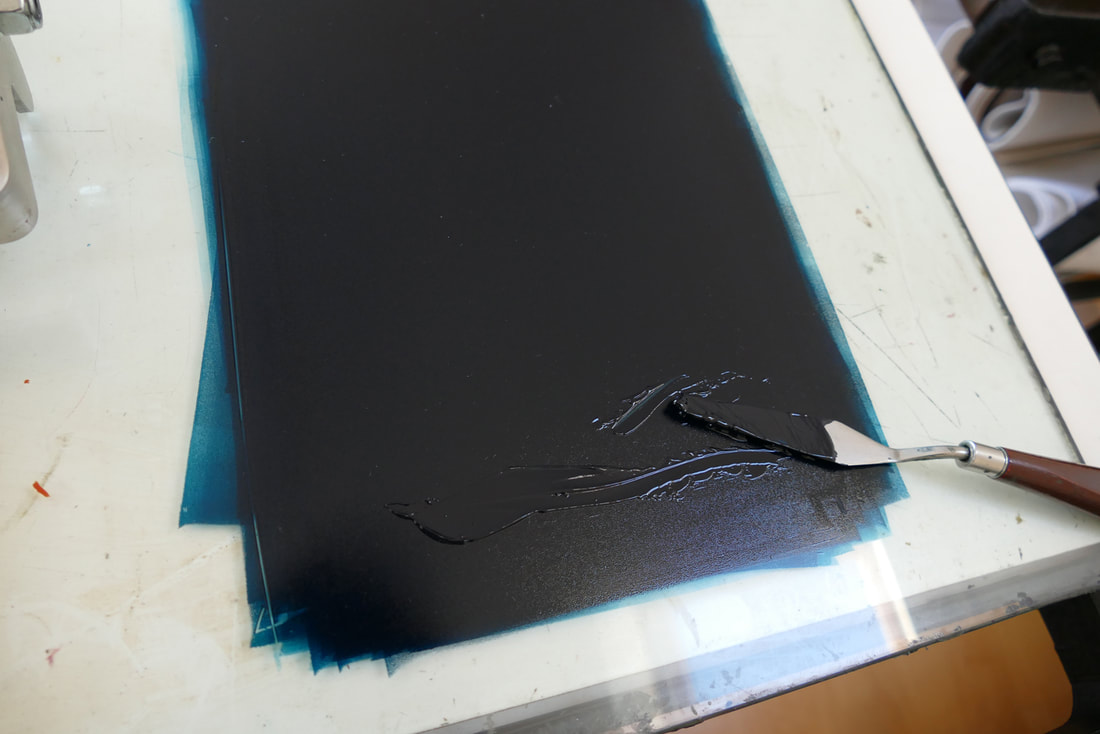
One key requirement I set was that after use, the stencil should come away relatively easily and cleanly and not leave a residue. Generally this is satisfyingly true. Certainly no visible residue that would cause actual printing problems. But even with a good double wash with water and a little detergent after printing and peeling the stencil off the mesh, I think the ink and stencil together do leave a 'greasiness' - that by the 4th and 5th stencil on the same bit of screen was causing a lack of adhesion compared to a fresh chemically cleaned screen.
One key requirement I set was that after use, the stencil should come away relatively easily and cleanly and not leave a residue. Generally this is satisfyingly true. Certainly no visible residue that would cause actual printing problems. But even with a good double wash with water and a little detergent after printing and peeling the stencil off the mesh, I think the ink and stencil together do leave a 'greasiness' - that by the 4th and 5th stencil on the same bit of screen was causing a lack of adhesion compared to a fresh chemically cleaned screen.
If I was asked about durability I would say that I feel confident that once I'd got a good stencil well attached to a clean degreased screen, I could probably print hundreds of copies with no problems. That said, the adhesive is water based and I might be over confident there. In terms of storage for further use, I suspect that if left on a screen they might dry out and come unstuck but I have no experience of that myself.
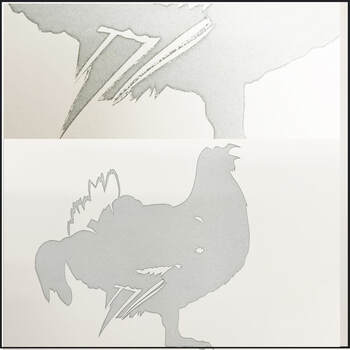
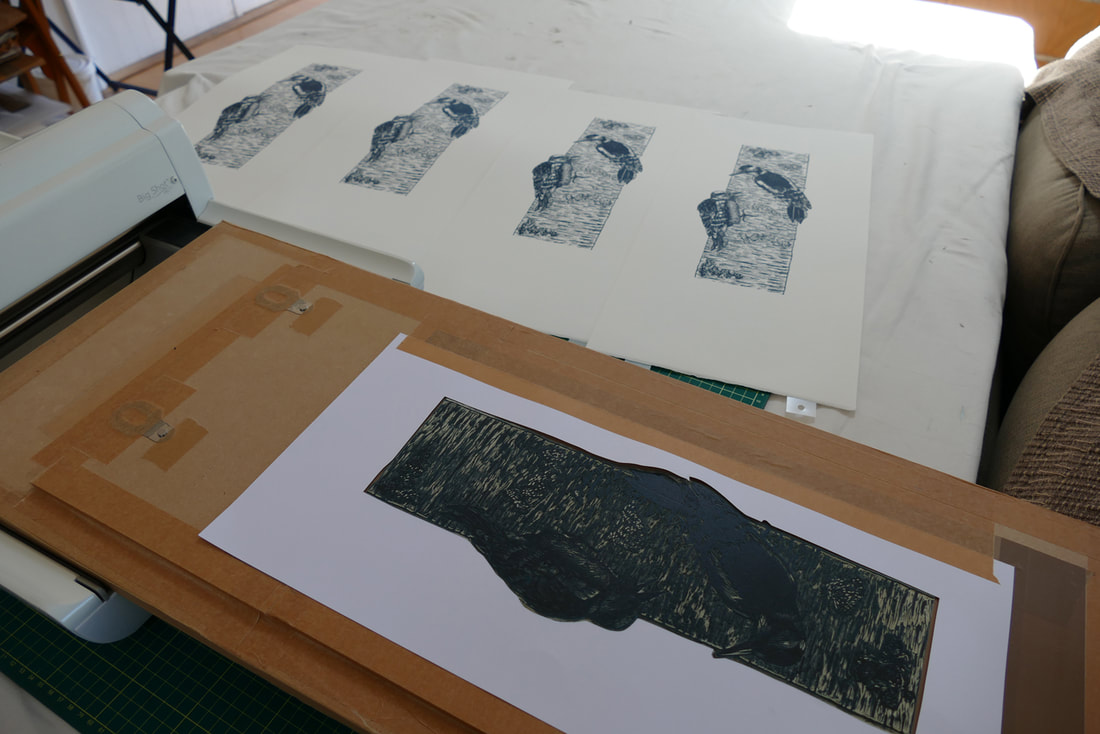
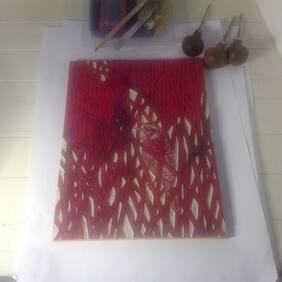
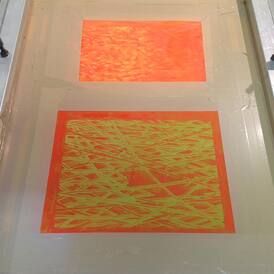
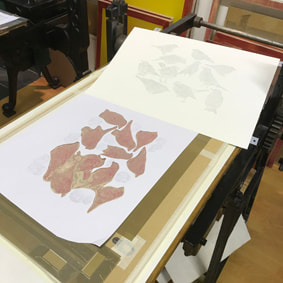
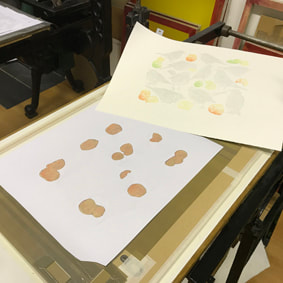
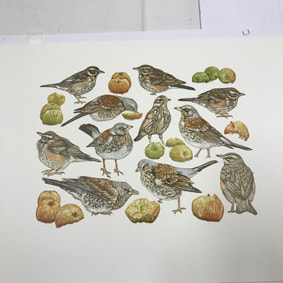
Some other things learnt from this second little edition were:
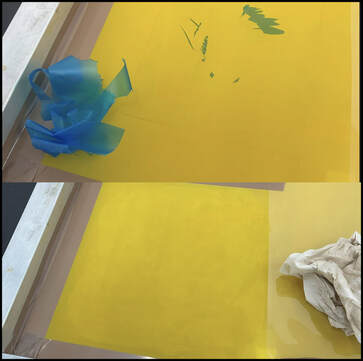
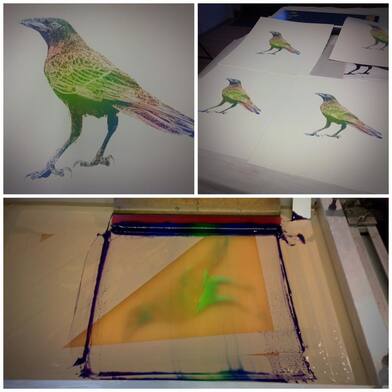
Smaller off cuts of film can be peeled from their backing and re applied to a larger sheet of backing paper saved from previous use to print separate small ‘spot’ areas of the image.
Smaller off cuts of film can be peeled from their backing and re applied to a larger sheet of backing paper saved from previous use to print separate small ‘spot’ areas of the image.
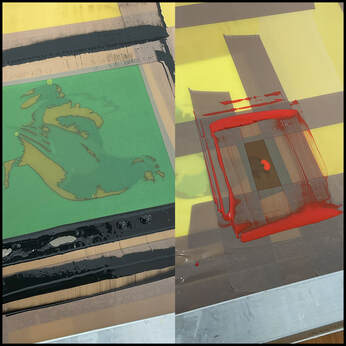
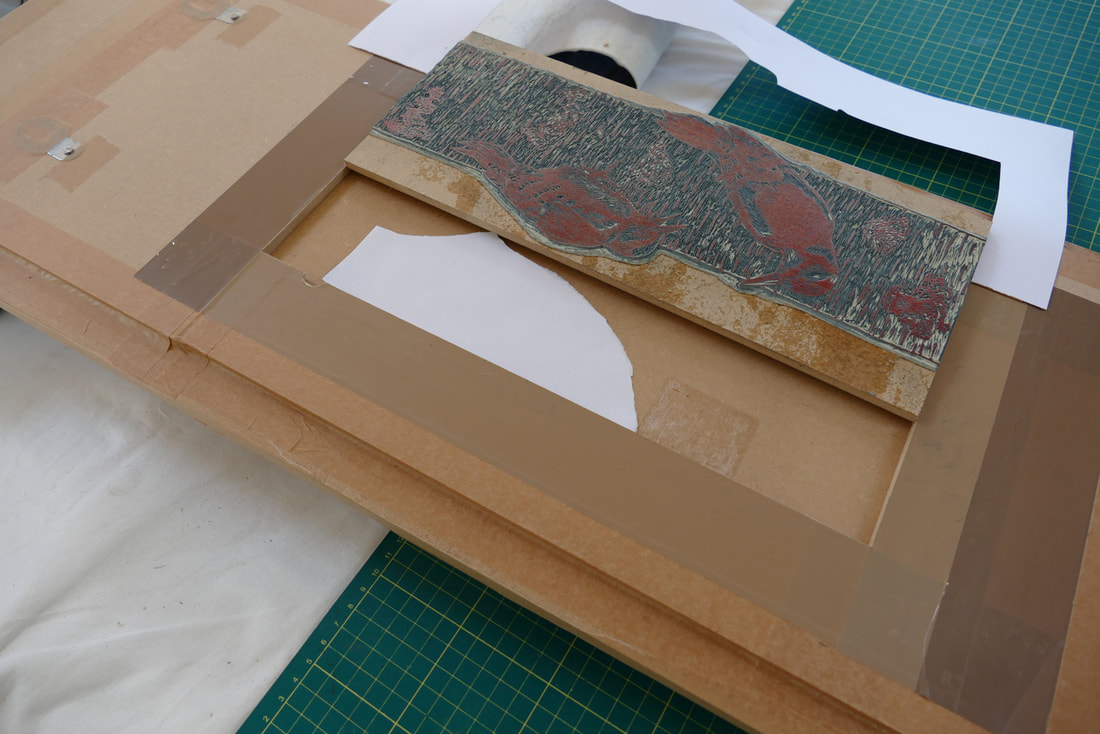
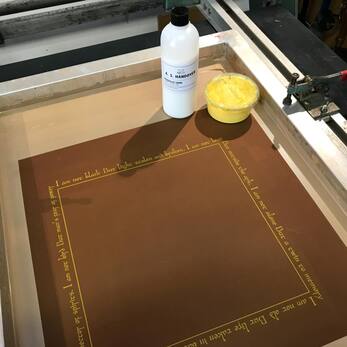
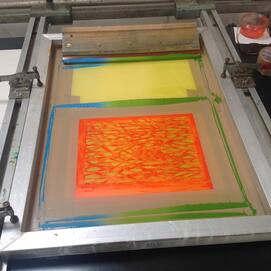
One can use more usual temporary blocking methods such as paper stencils on the underside of the screen and pieces of Sellotape on the upper side in very successful conjunction with the Oramask stencil.

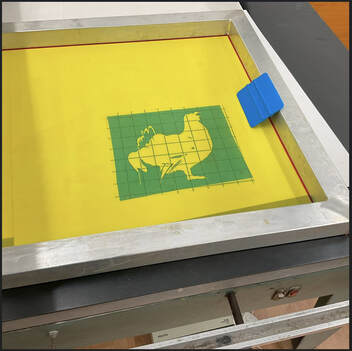
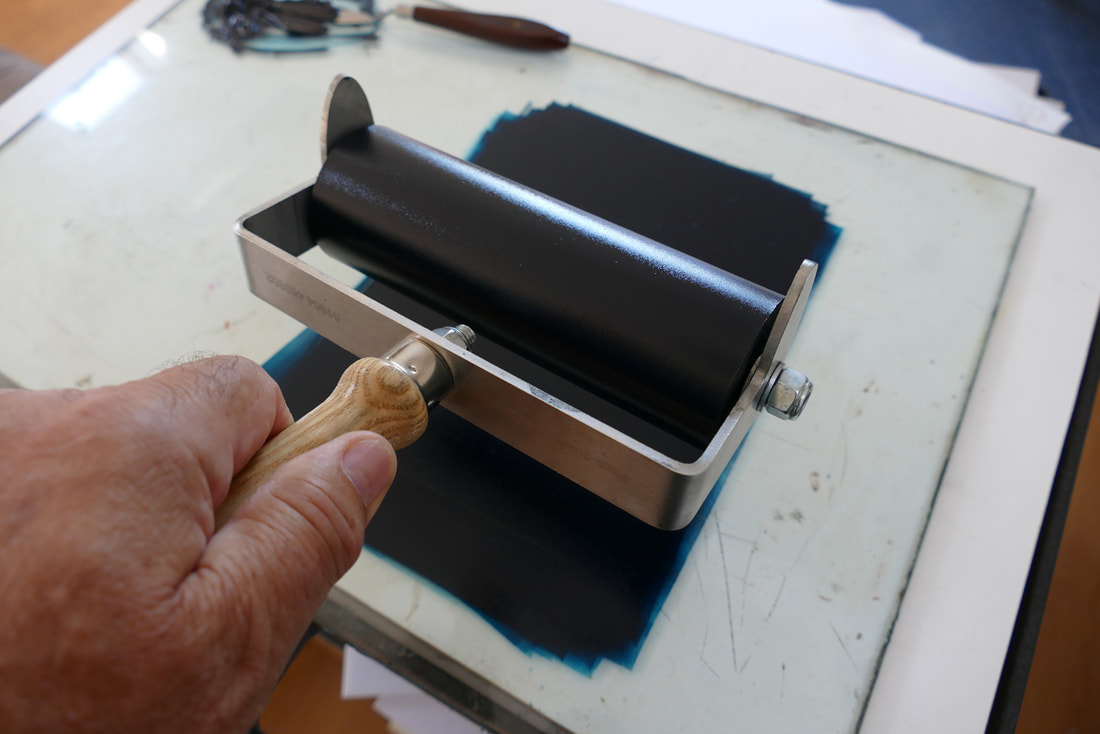
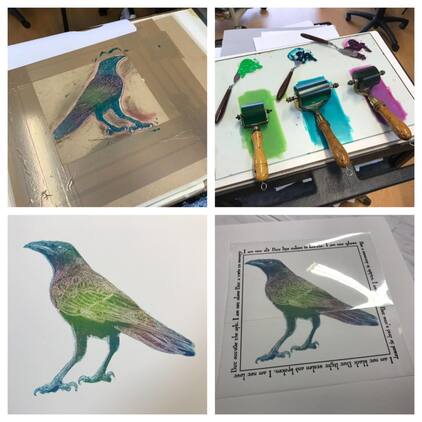
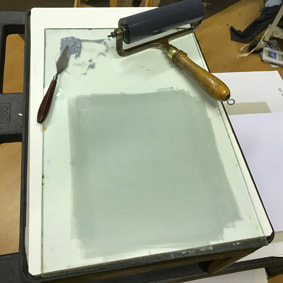
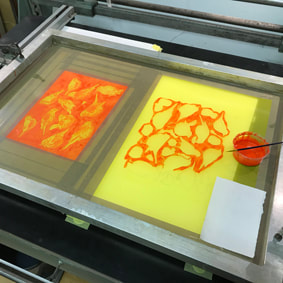
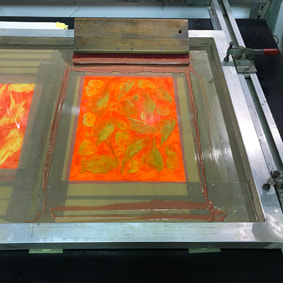
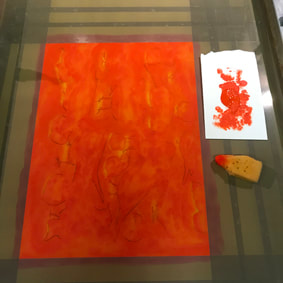
The most useful, indeed vital, tool in the process is the cheap plastic squeegee/applicator used to rub down the adhesive layers!
Firstly to make sure the transfer tape is clean and flat; and then to really very firmly press the stencil adhesive to the mesh - particularly the small ‘islands’. I found too that if the ink is washed out and the screen and stencil dried (cold air fan only!) a further re- rubbing down is necessary before another use.
Firstly to make sure the transfer tape is clean and flat; and then to really very firmly press the stencil adhesive to the mesh - particularly the small ‘islands’. I found too that if the ink is washed out and the screen and stencil dried (cold air fan only!) a further re- rubbing down is necessary before another use.
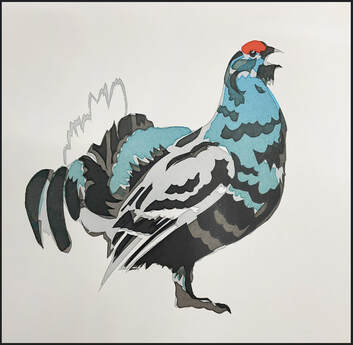
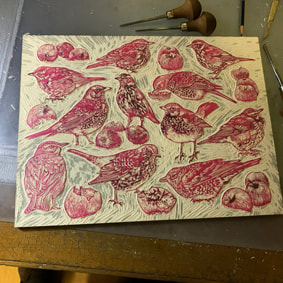
I think I’m going to leave it there for now. Lots still to learn I’m sure. But one of the biggest rewards personally has been the way this method of making images has insisted I work freely and in a non detailed, simple and direct way. I need that sometimes!
 |  |


 RSS Feed